Creating bump maps – photoshop tutorial
For the purpose of creating visualization often you’ll need a bump and specular map. Bump map gives an optical bump effect without changing the shape of the model, for example leather or wood. Specular map causes that the light refracts more naturally for example, take a look how light is refracting on the leather chair, you know what I mean? Generally, you can use almost the same texture as in the bump slot. Creation of that kind of map(I think it is foolish to use the first map without the other one) from selected or created texture it’s really very simple. So now I present you a brief tutorial of creating these two types maps. First part is about bump map, in the second one you can read about process of creating specular maps ; ) Regarding of creating a bump map I will give you three ways , so you can pick out the right one for you, enjoy!
Understanding of how bump maps works
Bump map works that the gray color( R:127, G:127, B127) is an intermediate color, that doesn’t give neither convexity nor concavity . Any lighter shades provide protrusions and the darker one gives concavities. You need to note that not all color textures which will be converted to gray scale(black and white) will give the effect that you want.
1. Simple bump map
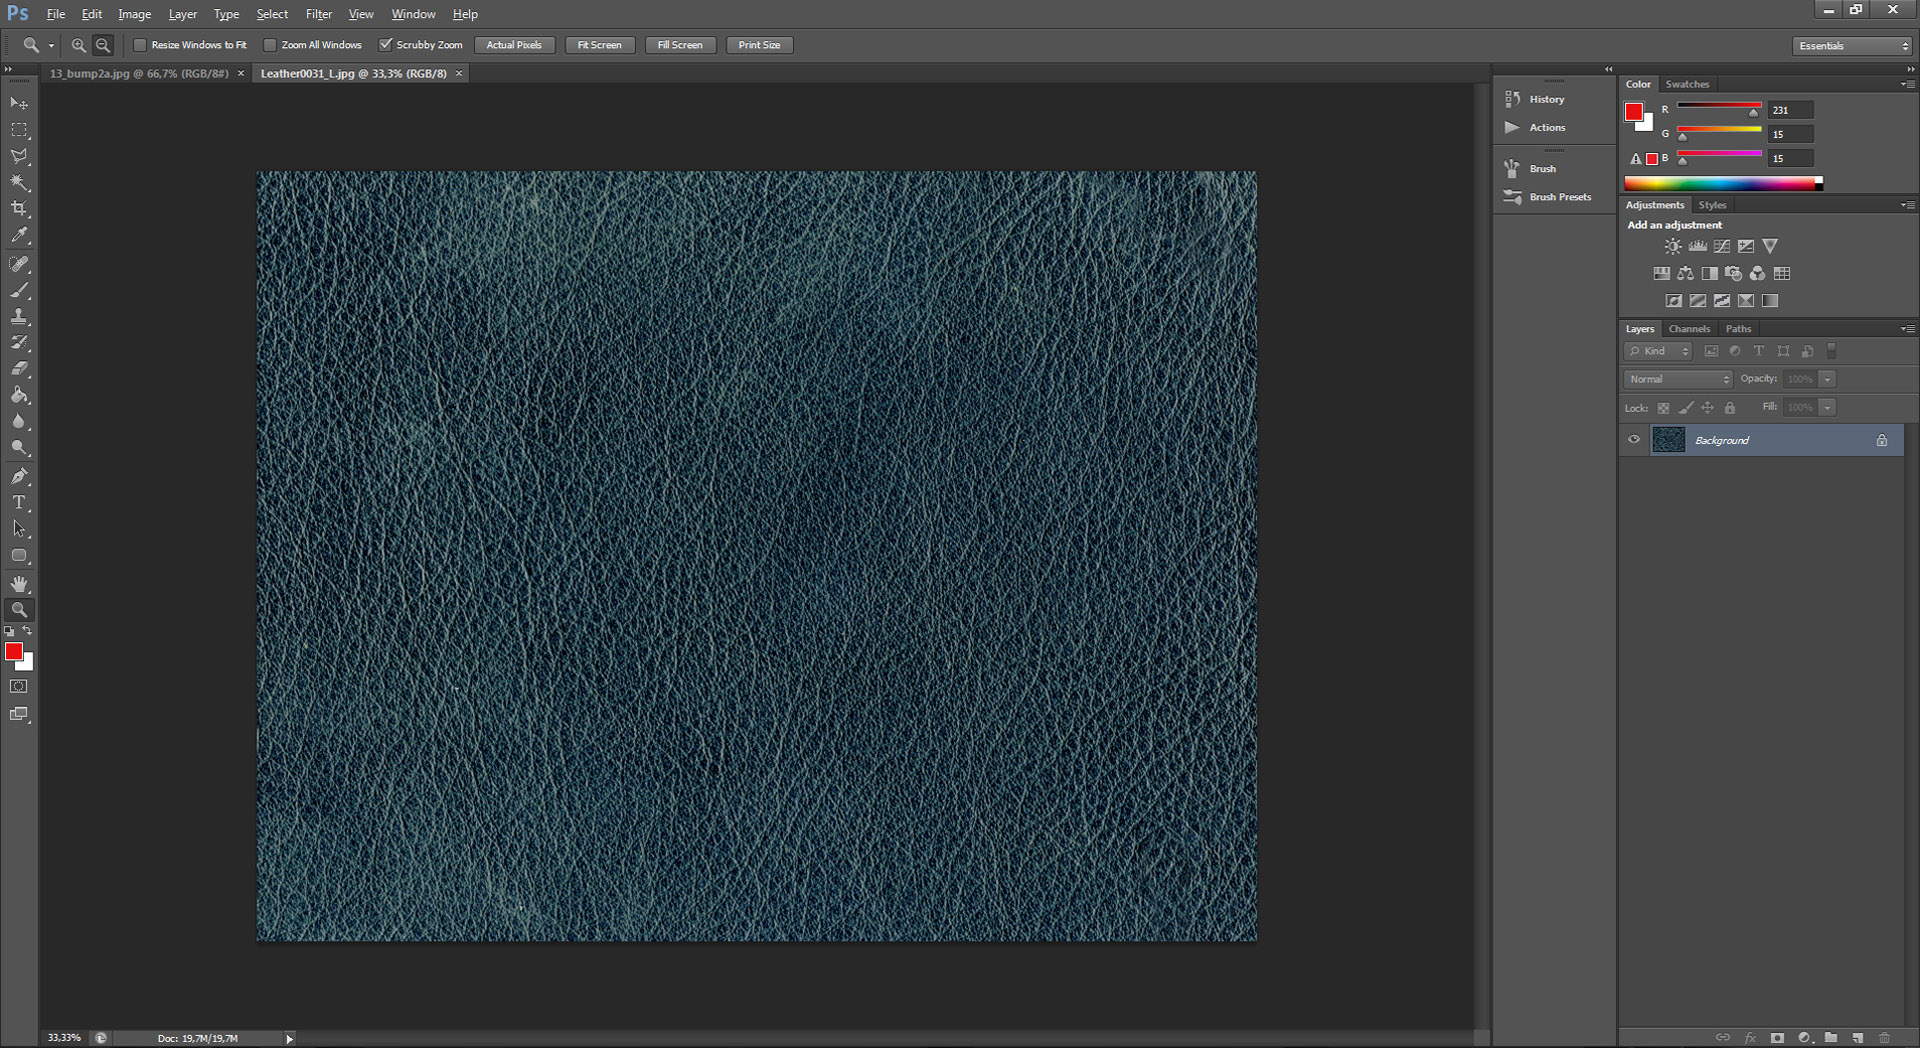
When you need a simple bump map such as leather for chair, it’s enough to play with a few parameters in basic tools in Photoshop. First you need a map – the best you can download from cgtextures.com, but they aren’t free unfortunately, however at the start you get 15mb of transfer, so some textures you can download ; )
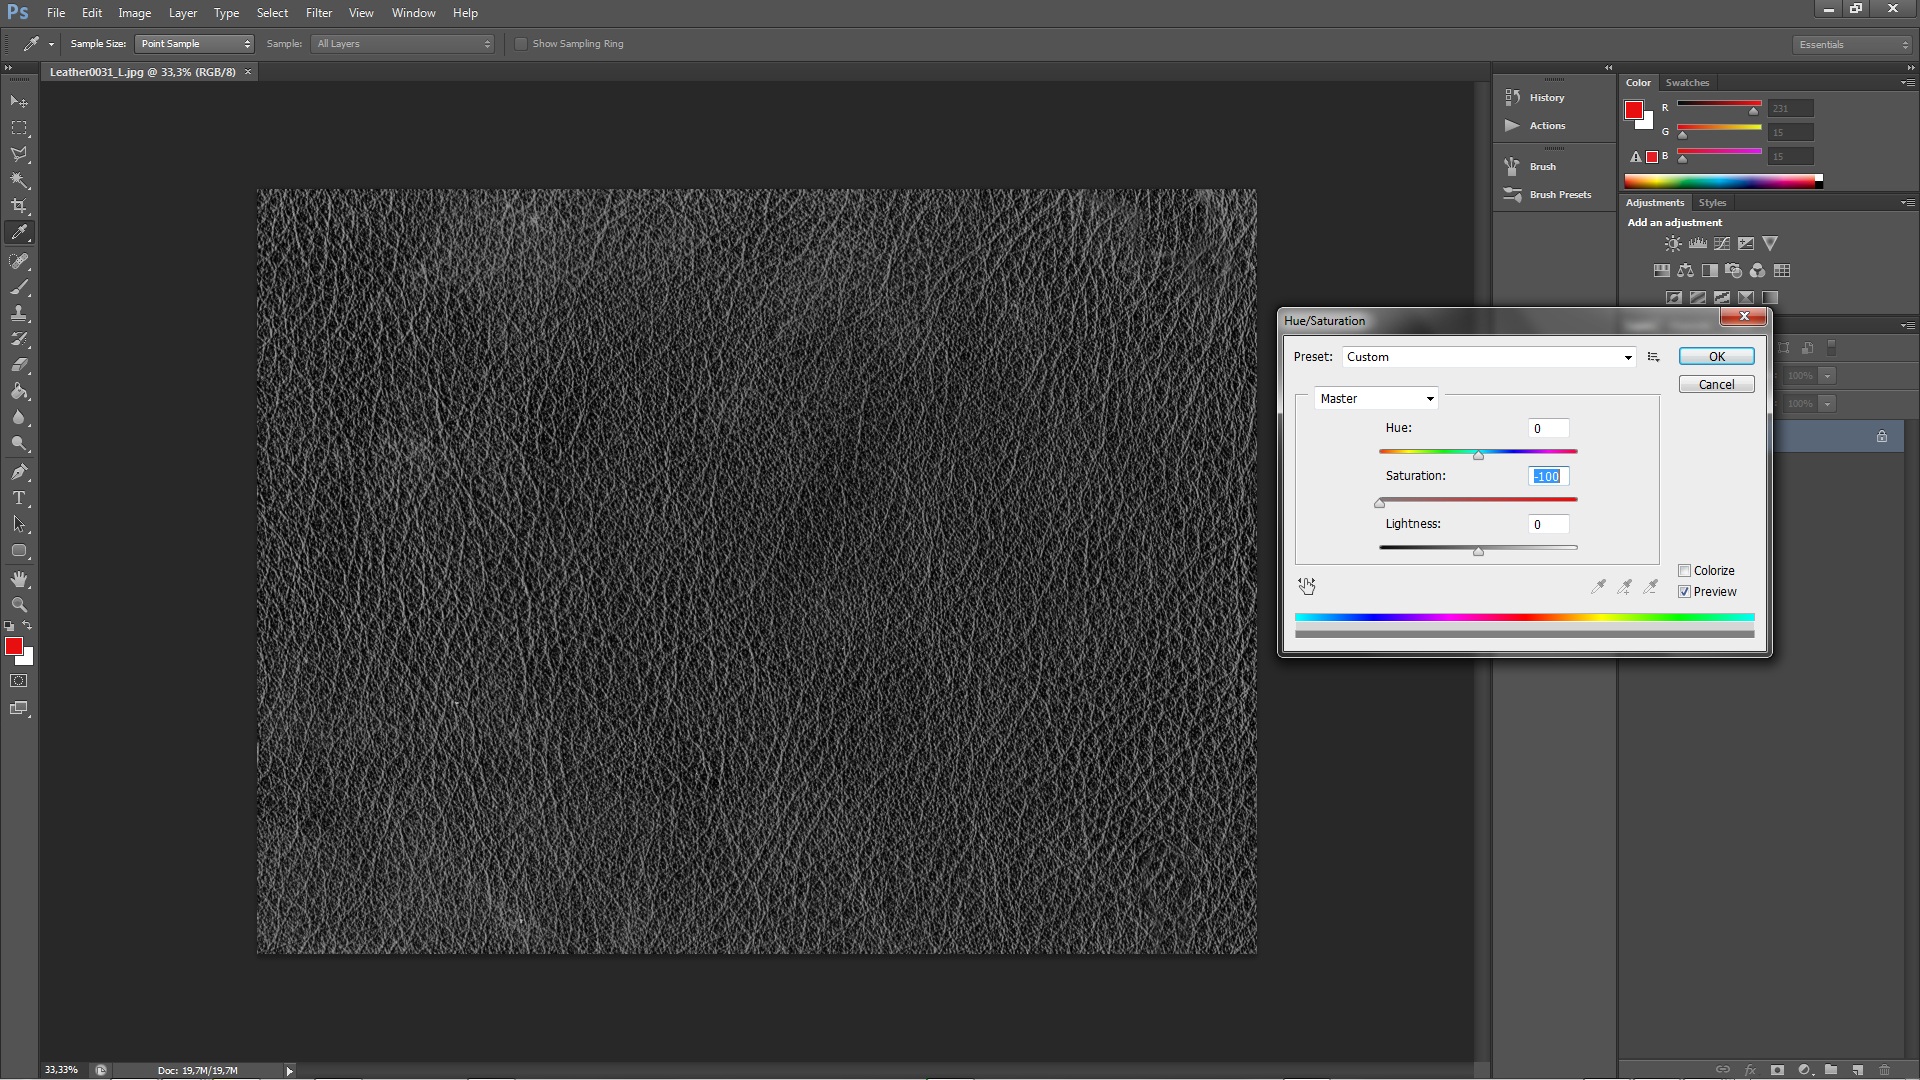
a). First step – map desaturation
To do this just select the tool Hue/Saturation(Ctrl+U) and set the value of Saturation to -100.
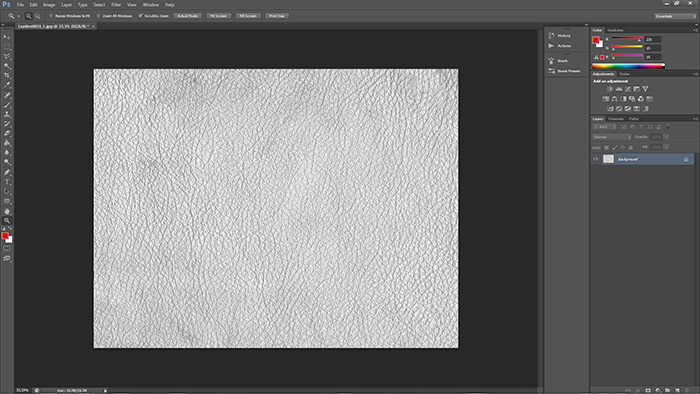
b). Inversion
It’s obvious that the current bump map is currently contrary to what I wrote in the first paragraph. How can you change this? The key combination Ctrl + i will make color inversion and now you can see that the map is close to what are you expecting.
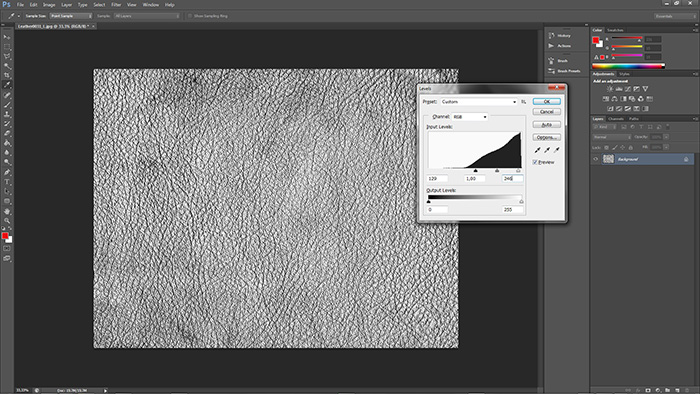
c).Levels
The only thing left it’s just adjusting the levels of the map. What do I want to achieve is to make stronger the places where the map will be concave(darker places – almost totally black). You can play with the slider and get the most desired effect. Below you can see my settings.
2. Creating bump map with plugin in Photoshop
And so in these three simple steps you received a simple map bump ; ) Piece of cake, isn’t it? However, there are cases when those tools will not gave you the effect that you need, so what can you do? You can use an Nvidia plugin. To download it just go to that website and now we can solve that problem.
a).Plugin
After plugin installation(be sure that you choose the correct version 32bit/64bit) open Photoshop and import your texture. Choose that one , which you would not be able to create using the previous three steps. To run the filter you need to go to Filter->Nvidia Tools->Normal Map Filter.
b). Plugin settings
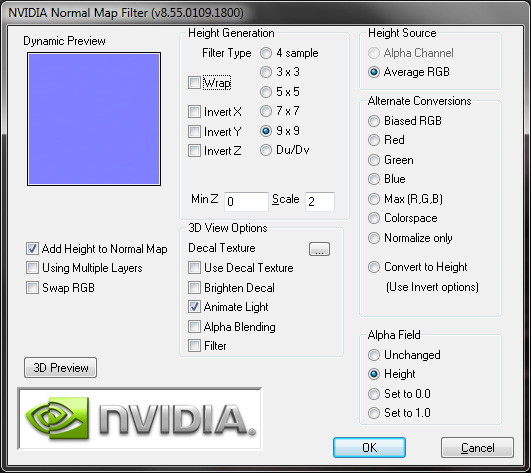
I recommend you to use those settings which you can see on the screen above. More samples equals higher realistic texture because dents and convexities will be more visible. However, the more samples, the longer this process will take. Your map should look something like this on my picture below if you are using the same texture ; ) Hey, but previously you wrote that the bump map should be black and white and now suddenly has to be like this? Yes, you’re right but the NRM (normals)maps ale also supported in 3ds max, of course there is one condition, you have to make very good map ; )
c). Increasing the contrast
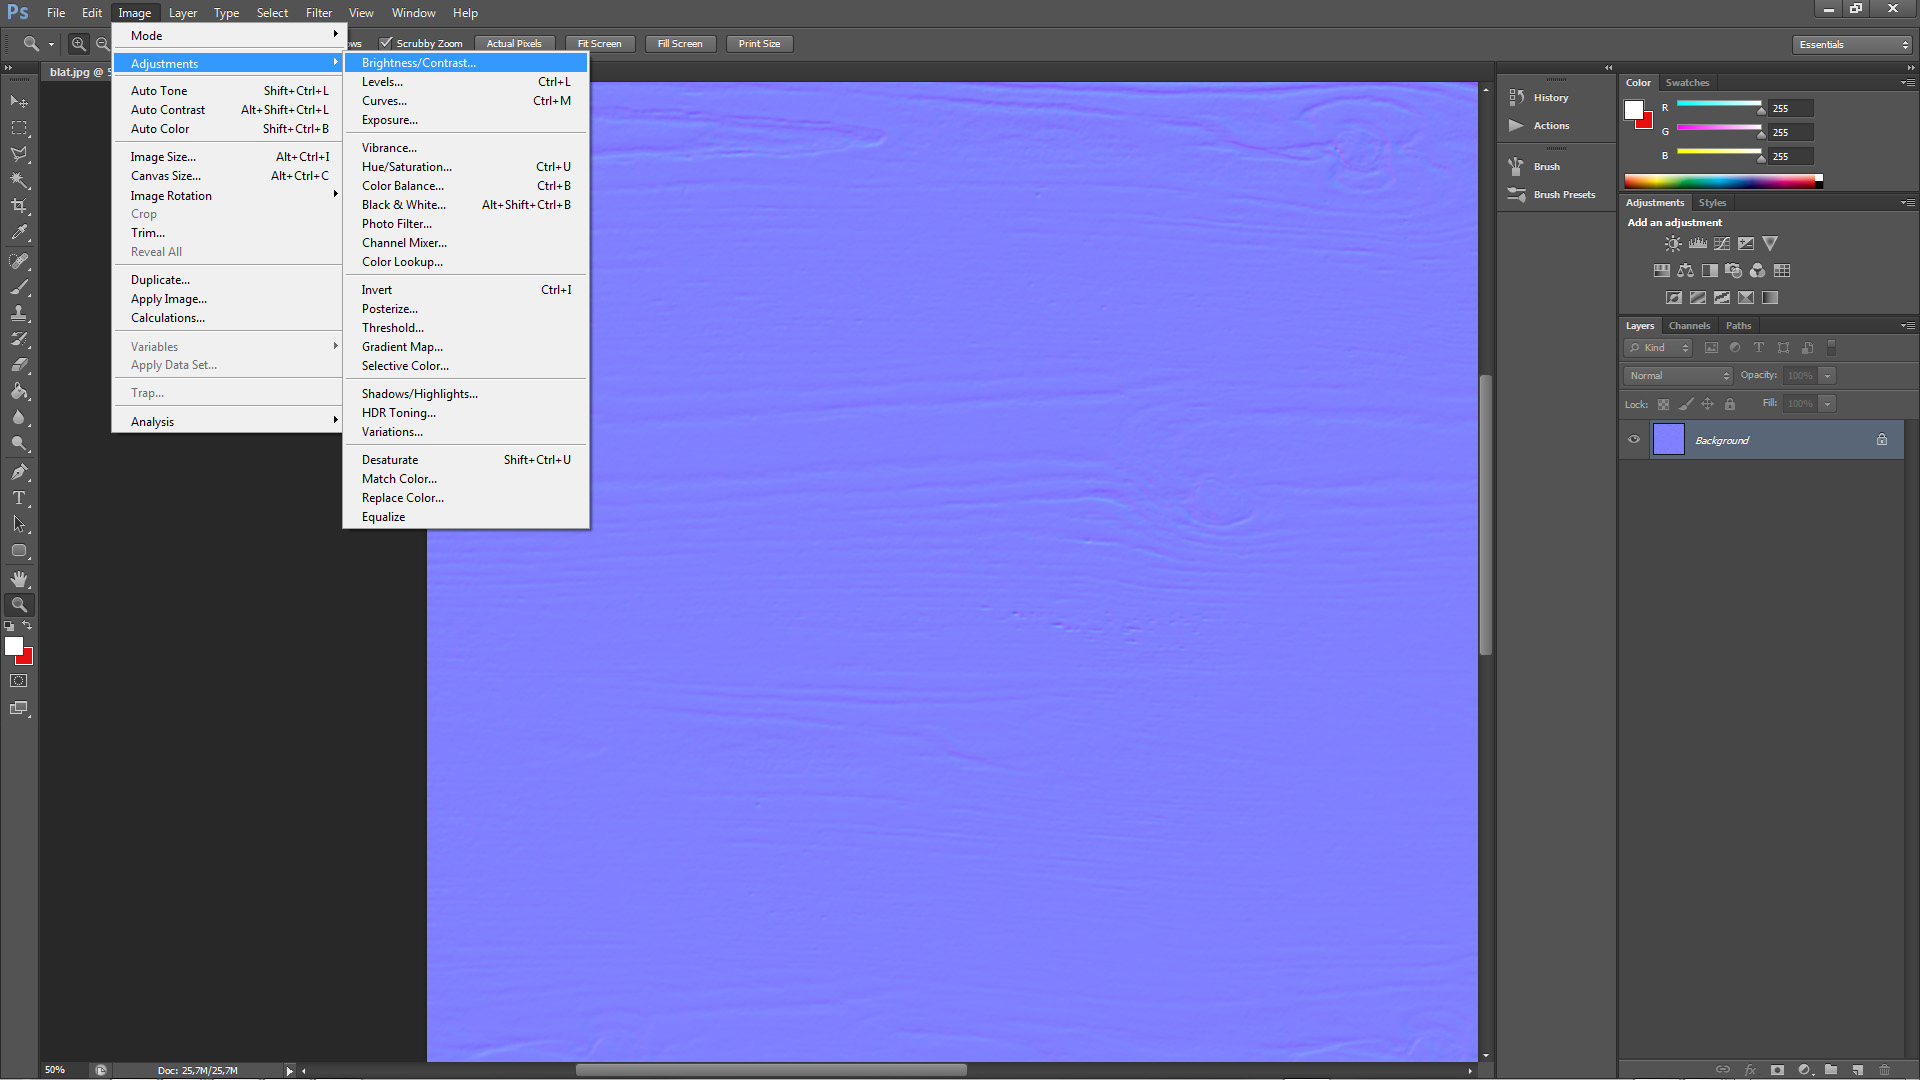
Immediately the inequalities are visible. The truth is that the program sees this map like you are seeing it right now. So it would be nice to increase little the indentation. Go to Image-> Adjustments -> Brightness/Contrast and plays with the slider to get the effect that you want by increasing the contrast (I increased it to 70)
d). Saving the file
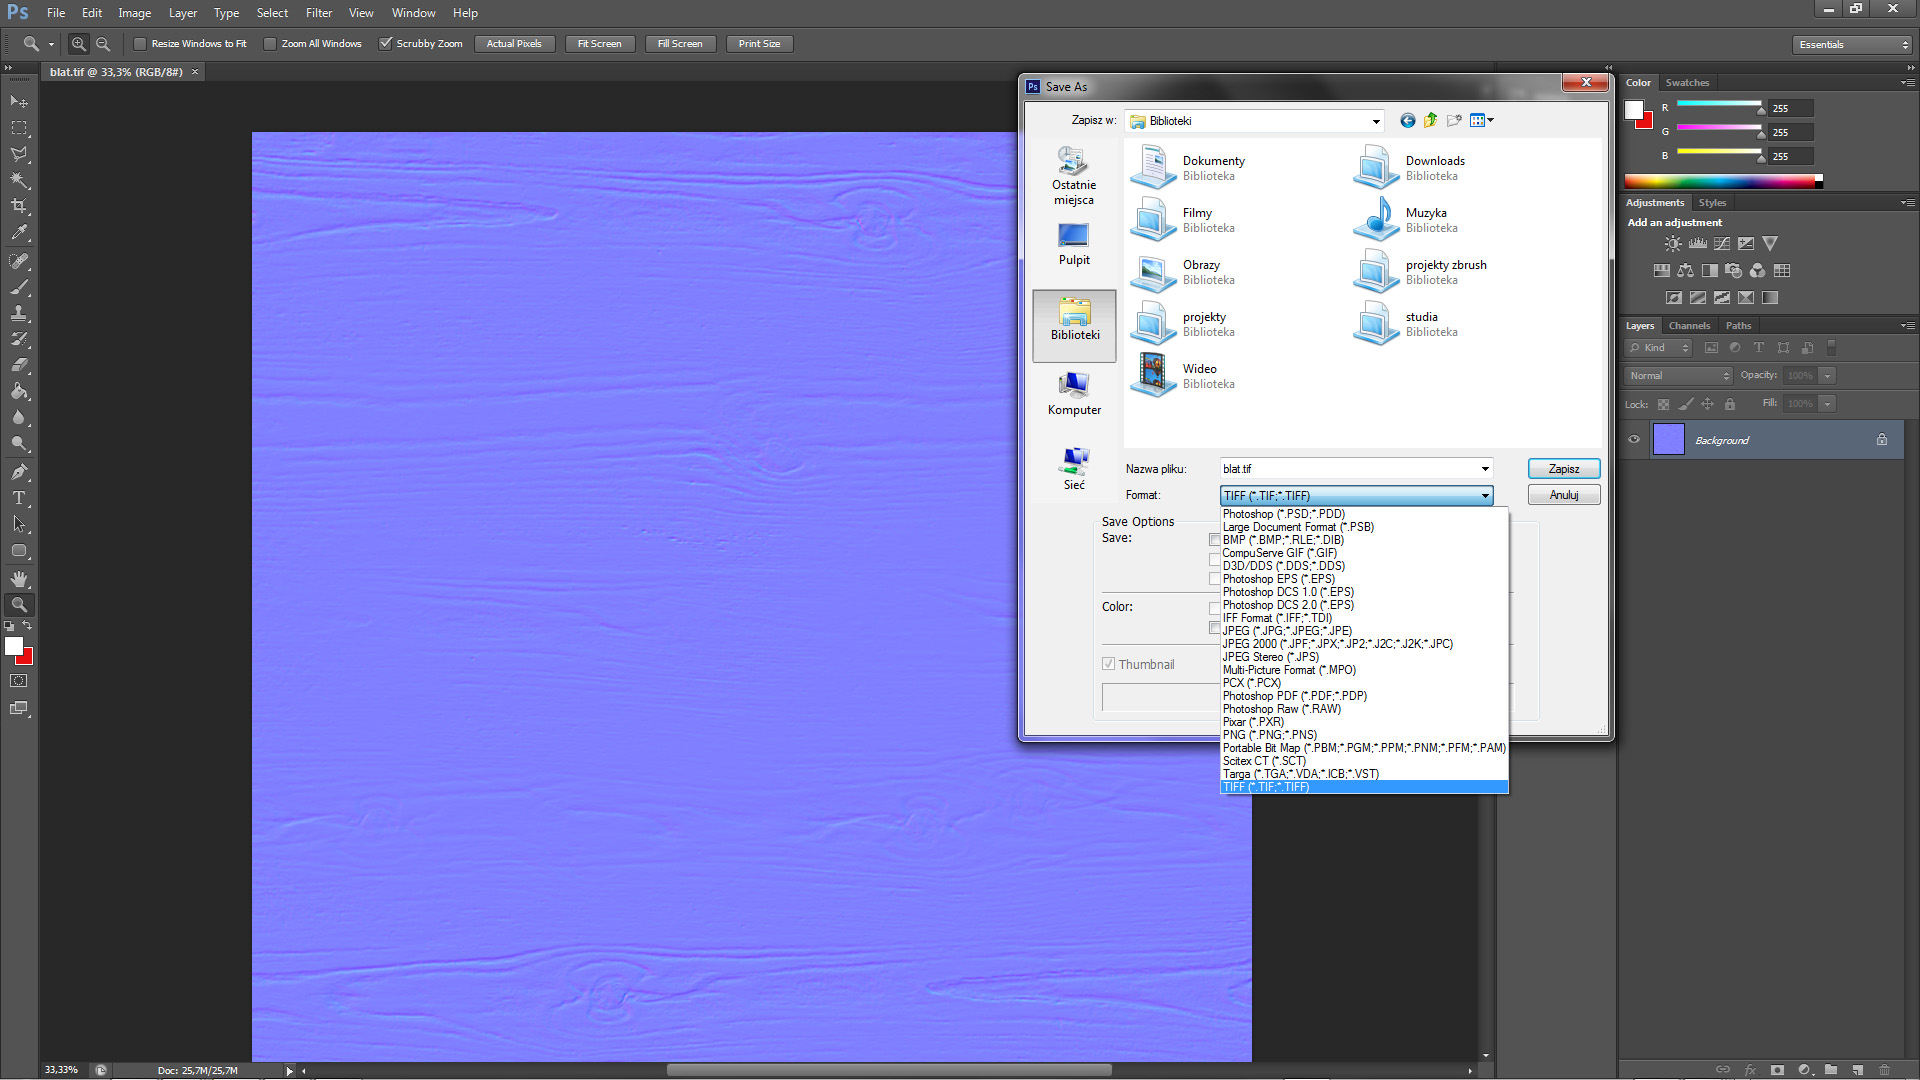
The main thing is to save the map in to the desired format. Sometimes there are problems with jpg format, so which can you choose? The best choice is Tiff because always work correctly. In case when map won’t work you have to check file mode, it should be set to 8-bit. To check this, go to Image->Mode – > and set 8bits/Channel.
3. Creating bump maps using Crazy Bump
First of all you have to download the program. -> link. Unfortunately, it’s not complete free but you can download demo version, which is a bit truncated however it has enough functions to create a Bump map.
a.) Map import
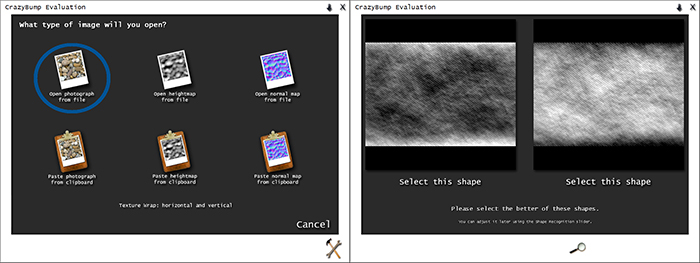
Now, you have to open your map. Select that option which you can see on the left in the picture below. Once have you chosen the map wait until Crazy Bump will stop thinking and then new window will appear like on the right side in the picture. What’s going on? If you remember how the bump map works(you have to know it!), you should immediately guess that the program gives us a choice of what type of map we want. Map on the left has darker places so when you will choose that one , your map will give more concavity effect, and the map on the right is the inverse. In fact it doesn’t make a big difference which type you will choose, because in 3ds max you can set the right value of the map.
b.) Map settings
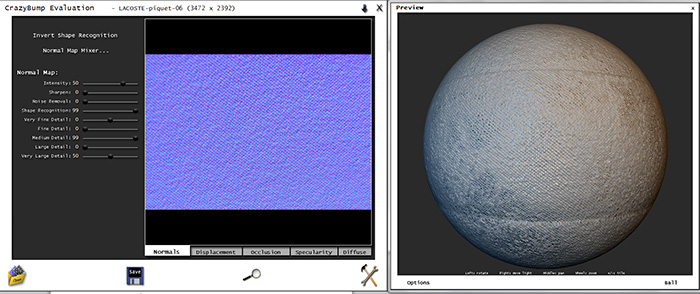
Very great feature of this program is the fact that apart from the appearance of the same map bump, the second window shows a map already applied on the object. If you are making changes in a variety number of sliders you have a real time preview of how the map is changing, isn’t that great?:)
- Description of the Normal map parameters
- Intensity – it’s responsible for the intensity of the convexity and concavity. Please note that here you can also change the map to the concave or convex, because the value range is from -99 to 99 .Often, the value of 50 will be enough..
- Sharpen – The higher the value, the convexity / concavity will be sharper, more distinct. Here you can have fun and see what’s going on with superimposed map :)
- Noise Removal – When you have a map which is quite a bit soiled and you want that some elements will not be rendered by the program as convexity or concavity, just have to move the slider and noise will be removed.
- Shape recognition – Well it is not worth to change this parameter below 99, because the map can become flat.
- Sliders with „detail” – generally it’s a question of the amount of detail which you want to be included in the map. It’s enabling to determine the best settings because it all depends of the selected map. However, it’s not worth at all to exaggerate with the amount of these details, because it will show up during the rendering process(it will slow it significantly).li>
It is worth noting that at the start the program itself adjust parameters and it will be rather better left it as it is or eventually you can play with the first two :)
c.) Saving the file
Let’s choose save(floppy disc) -> save normals as ->
and here we have to pick out the same typ of map like in the second method – tiff format. Sometimes map doesn’t want to work( I read that on the internet). The way to avoid this is very simple, just reopen the file in Photoshop or another type of program and simply save it again and it will work correctly :)
