Audi TTs 2015 – step by step!
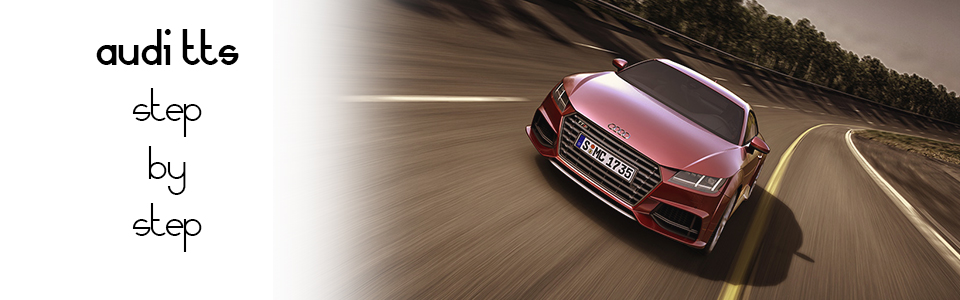
1. Background
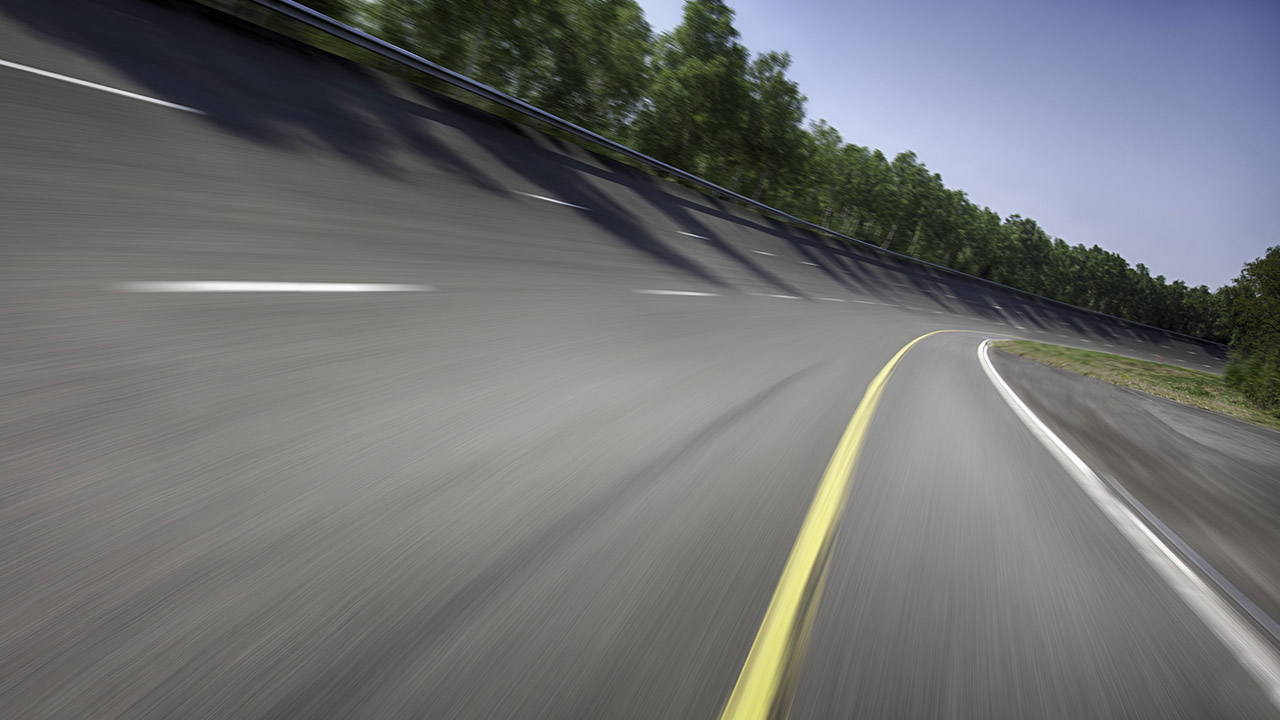
2. Adding a car.
3. Grouping and putting render passes in the correct order.

4. Adding a car shadow
5. BG and car corrections
6. Last corrections of a car
7. Adding filters

I’m sure that you often use blueprints or any other references images during modeling a car or anything else. Unfortunately often after putting those images into 3ds max the quality is much worse than in windows explorer. How to fix it? This can be fixed very quickly and it isn’t complicated so let’s do this!
The first way is for people who are using a Nitrous driver. It was introduced in 3ds max 2012(honestly I’m not so sure about that). In my opinion the quality of blueprints it has deteriorated but still we can improve it.
Immediately the quality of your reference image should be improved as mine, which you can see on the gif image below. I think that 3ds just blurred the image a little bit and that’s all :P . Sometimes it’s hard to see some of the details.
In my opinion this driver is better but still it’s depending of your habit. To change driver (first step in the picture below) go to Preferences -> Viewport tab -> Choose Driver -> and select from the drop-down menu Legacy Direct 3D.
Program will tell you that the changes will be made after restart and so we do. Unfortunately now quality isn’t best, actually is the same as the Nitrous without using a Realistic Material with maps.Now you should do two next steps and reference image will be much more visible. Go to Viewports in Preferences panel and this time select Configure Driver New window will appear and here is important to select the size of the texture (Background & Download Texture Size)to 1024 and select both empty squares next to Match Bitmap SIze as Closely as Possible like in the image below
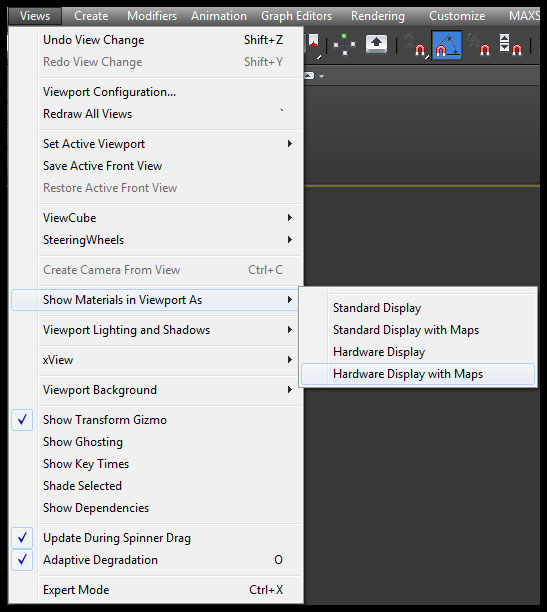
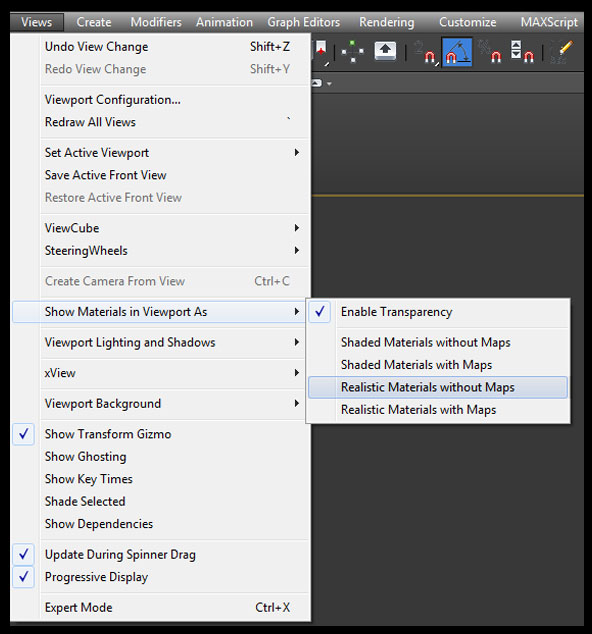
Last simple step is the same as at Nitrous driver . So go again to the drop-down menu Views->Show material Viewport as-> and choose Hardware display with Maps. .Much better than the Nitrous driver right ;)? Below you can see a comparison of these two drivers after applying the best settings. I hope this short note will be useful to someone :)

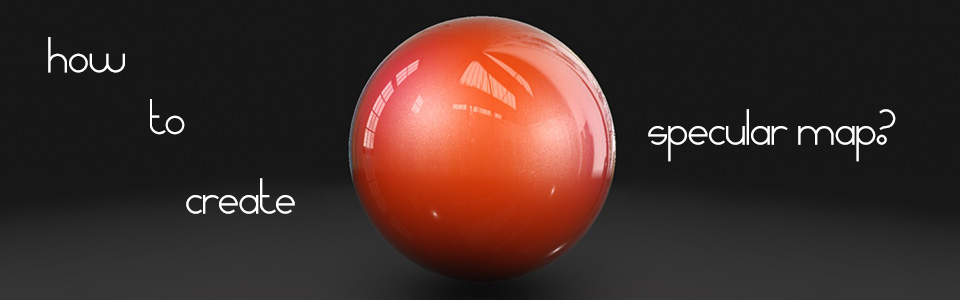
Now it’s time to create specular map. First of all I need to explain, why you have to use this type of map. When you are using a bump map, in most cases you will have to use also a specular map, which is made of the same diffuse map as a bump map. But why I will need this? It’s very simple to explain. Look how the reflections looks like on the wooden furniture. You see my point? They are never equal right? At this time, when you are using only a bump maps most of the reflections will not look realistic and sometimes you will not be able to see any of them.
There is no great philosophy about that. What happens is that, the lighter color on the map will give more specular effect and the black one (RGB 0) will cause no reflections. Unlike bump map, colorful maps will also work here, however they won’t give you such a good effect as a black and white maps.
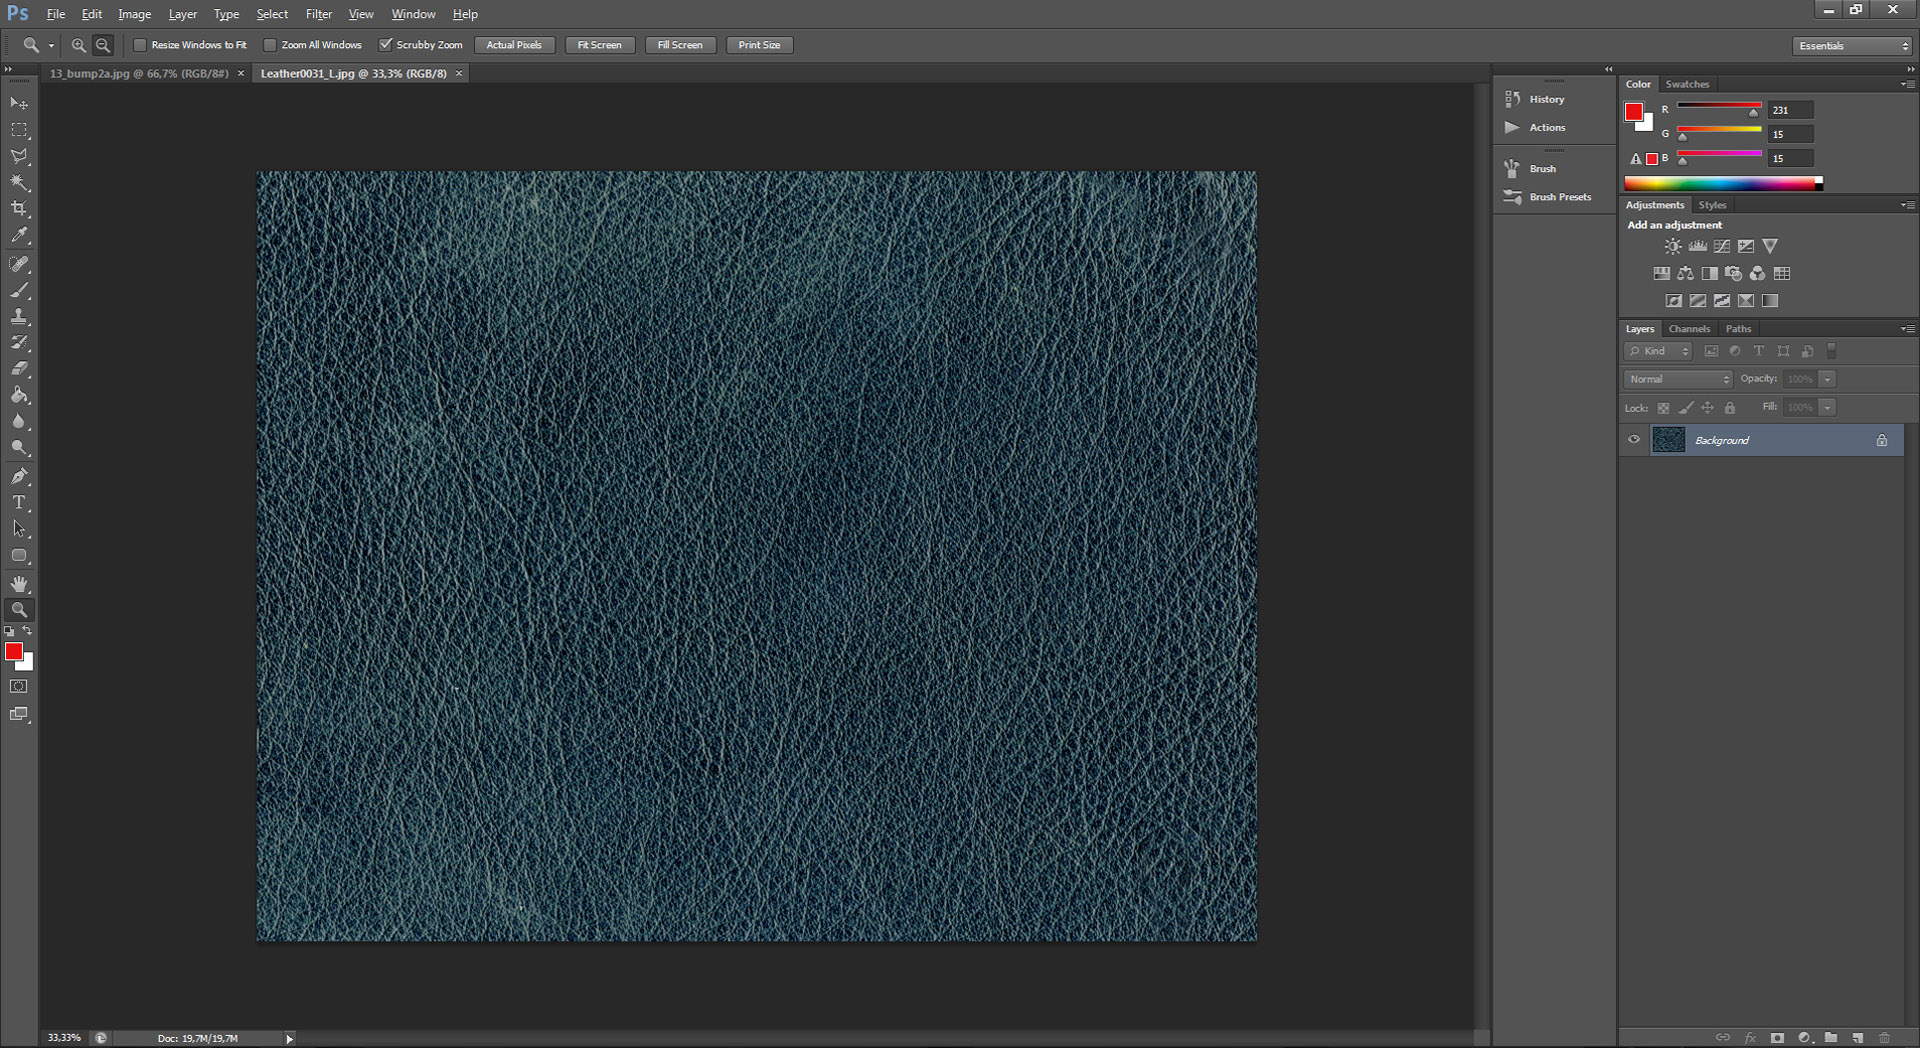
Just like the bump map you can quickly make specular map in PS by changing a few parameters. The second way(even easier!) I’ll describe in the next section. Now put your diffuse map into Photoshop(I’ll use the same map like in the previous entry of creating bump maps ) and just start to work with that ; )
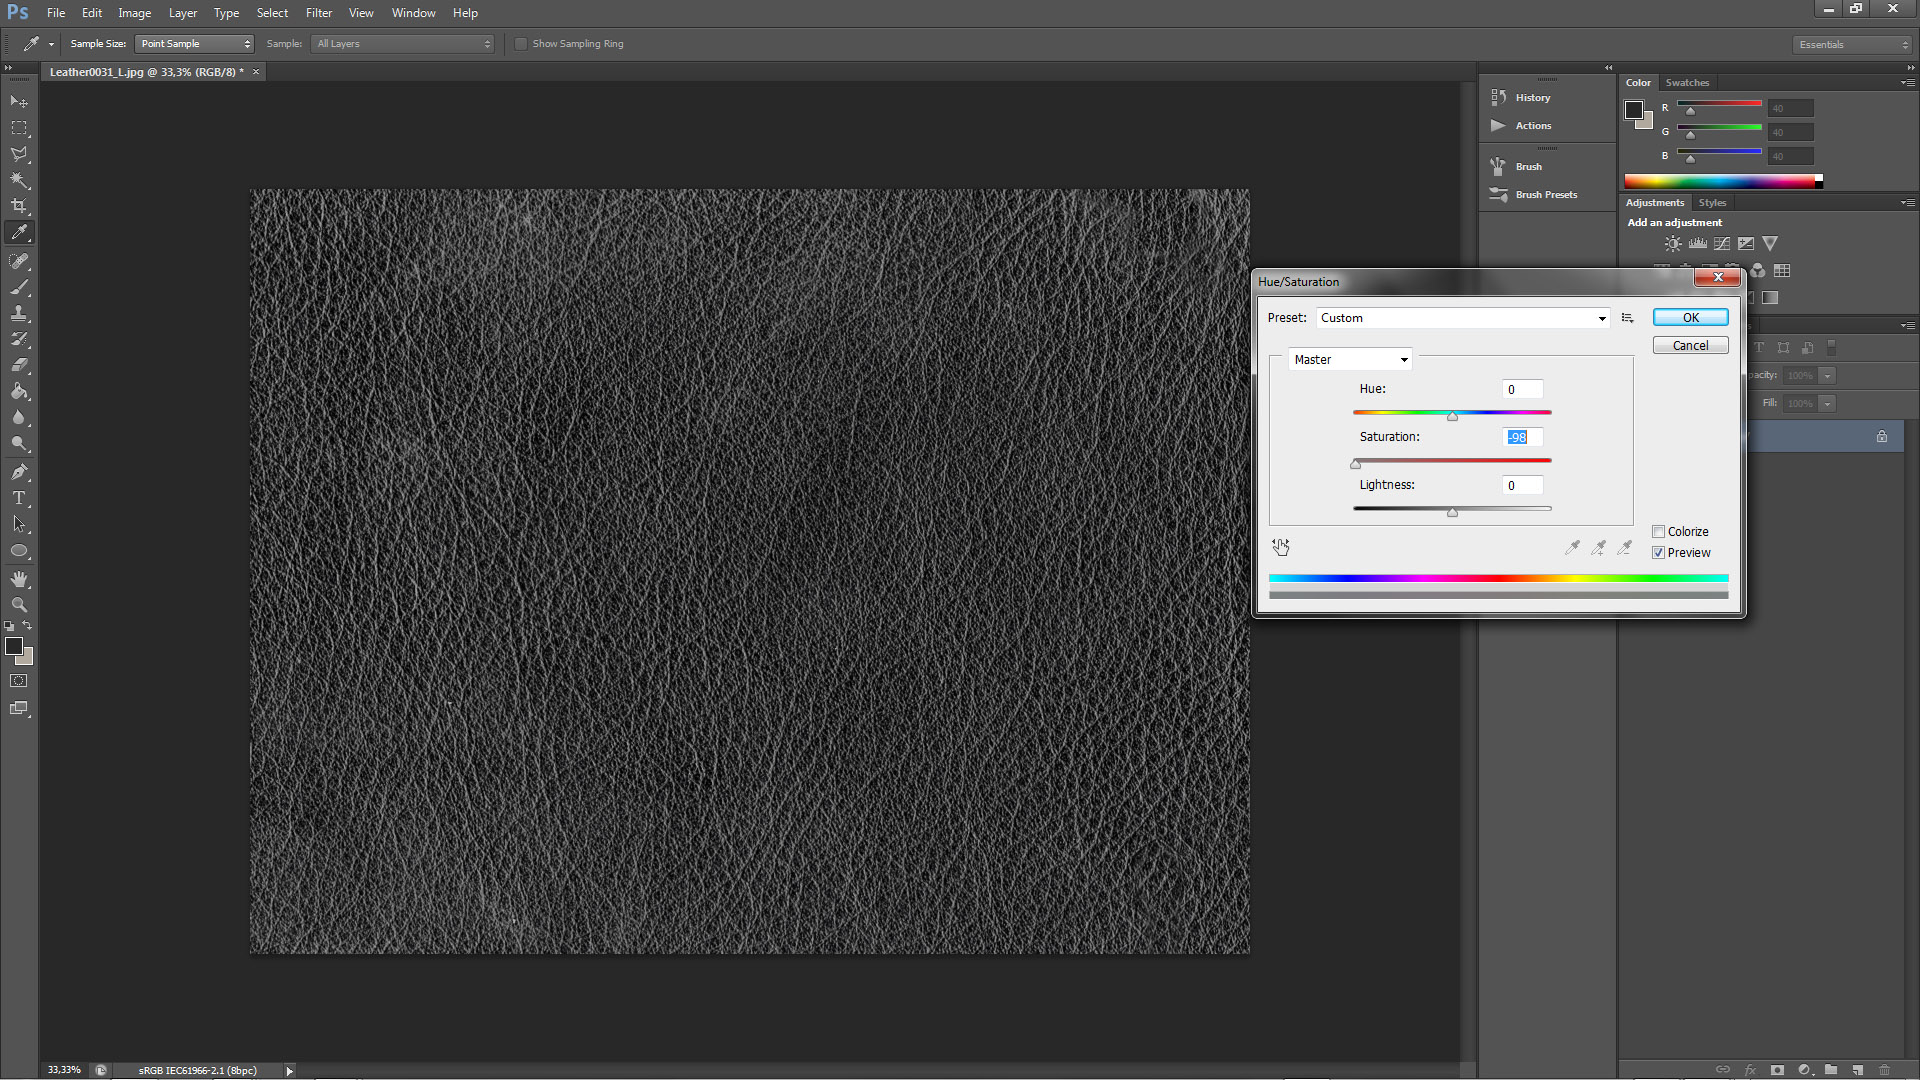
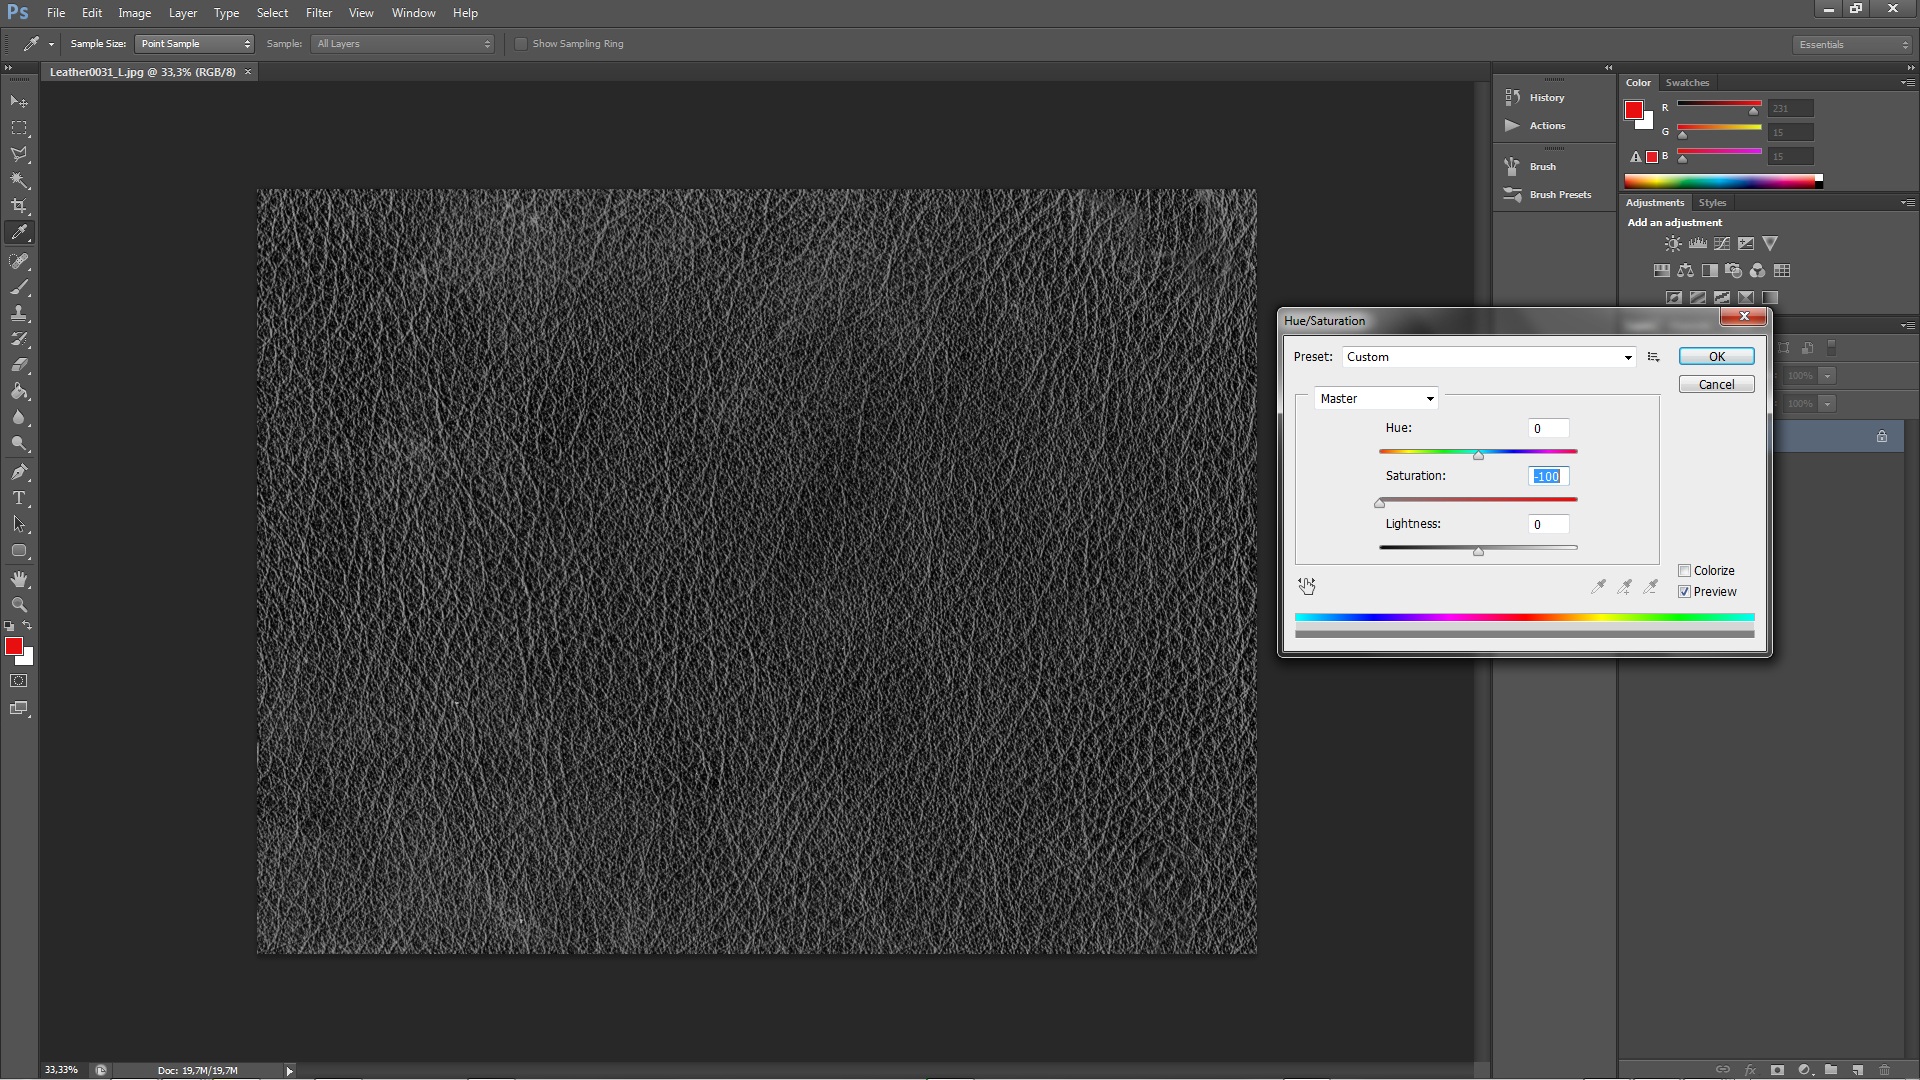
a.) Desaturation
To do this simply select Hue/Saturation(Ctrl+U)and set the value of Saturation to -100 or slightly less.
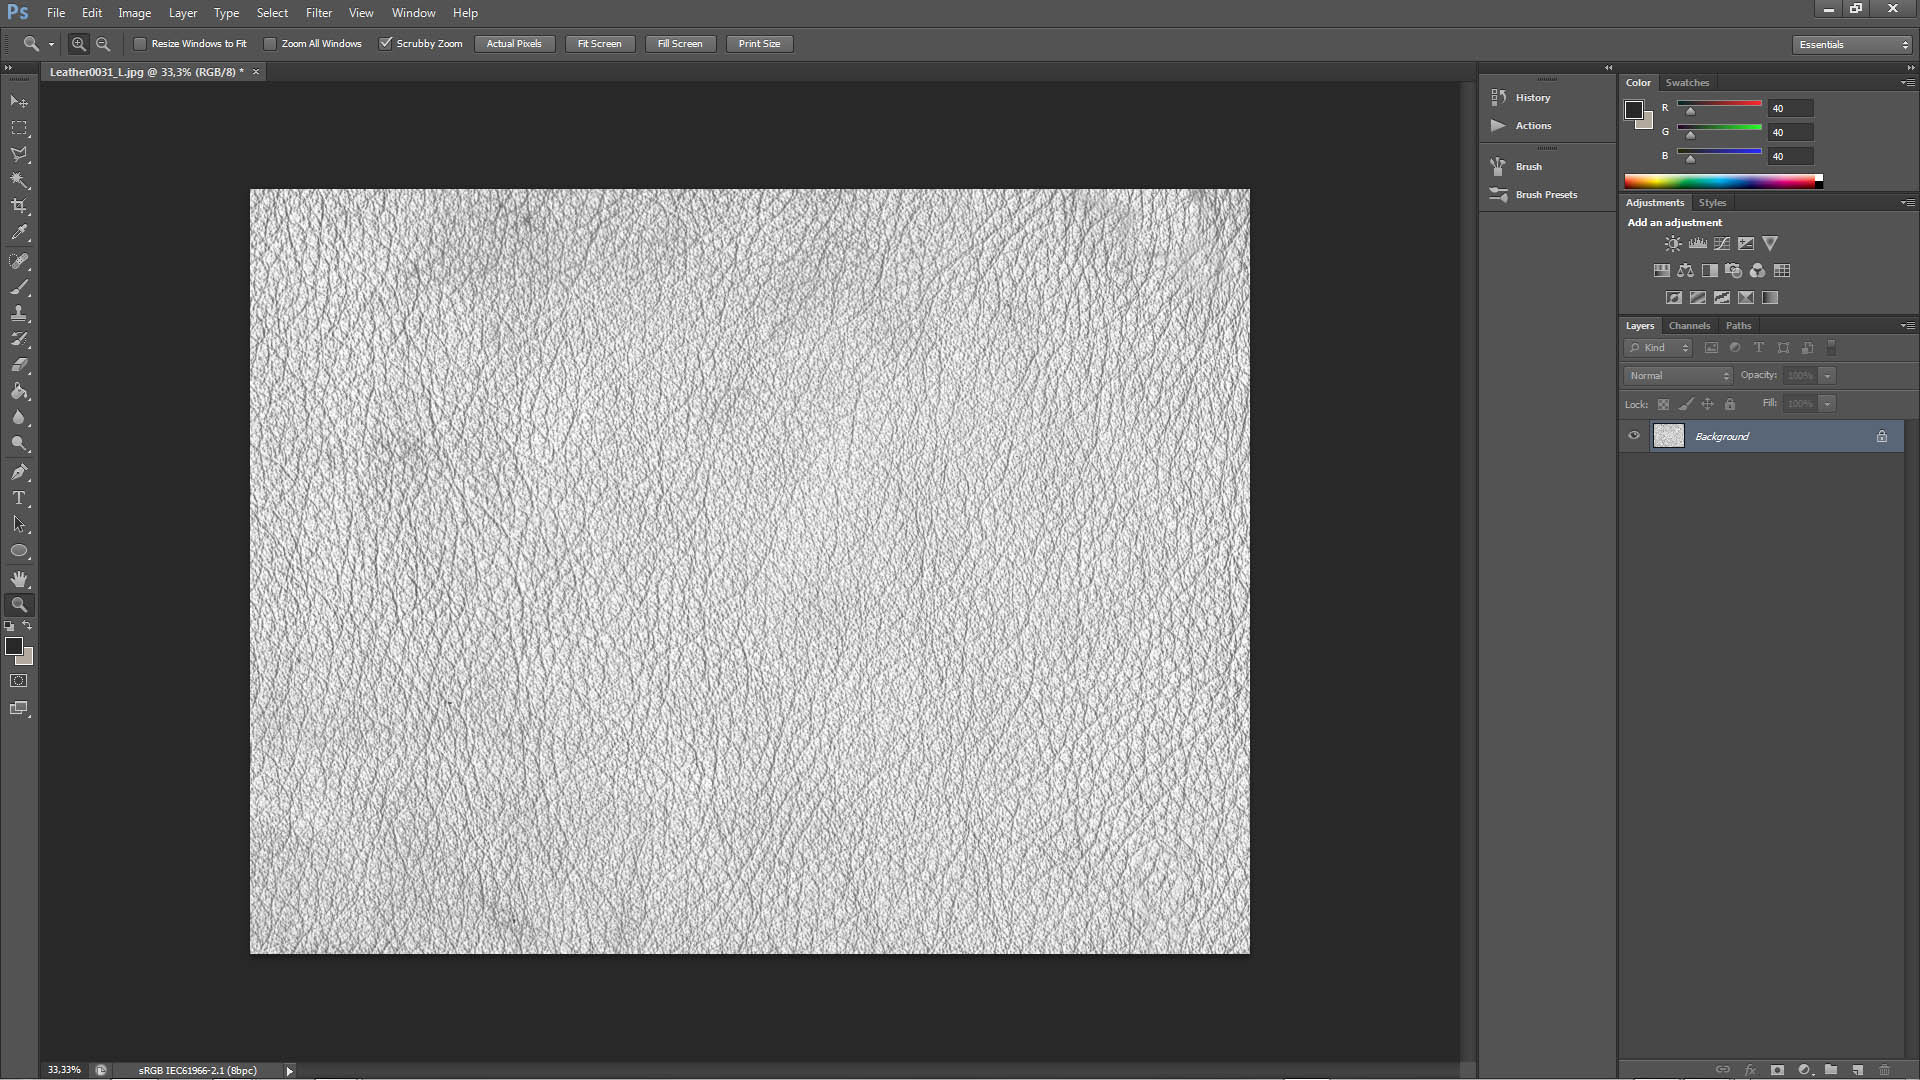
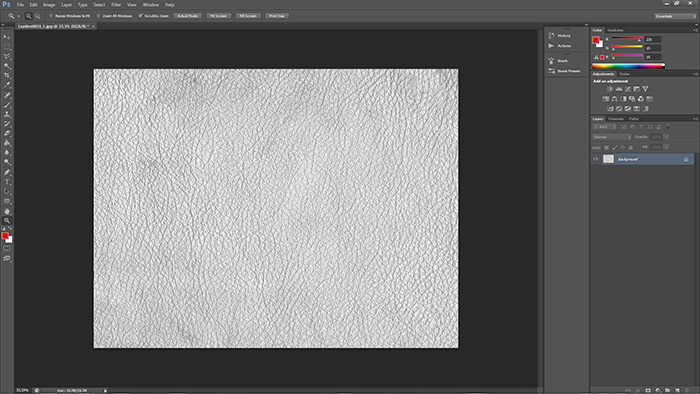
b.) Inversion
Unfortunately now all of the reflections would be in the hollows but we want to achieve just the opposite of that. That’s way you need to do inversion. Key combination Ctrl + i will do color inversions and already we can see that map is close to what you are expecting.
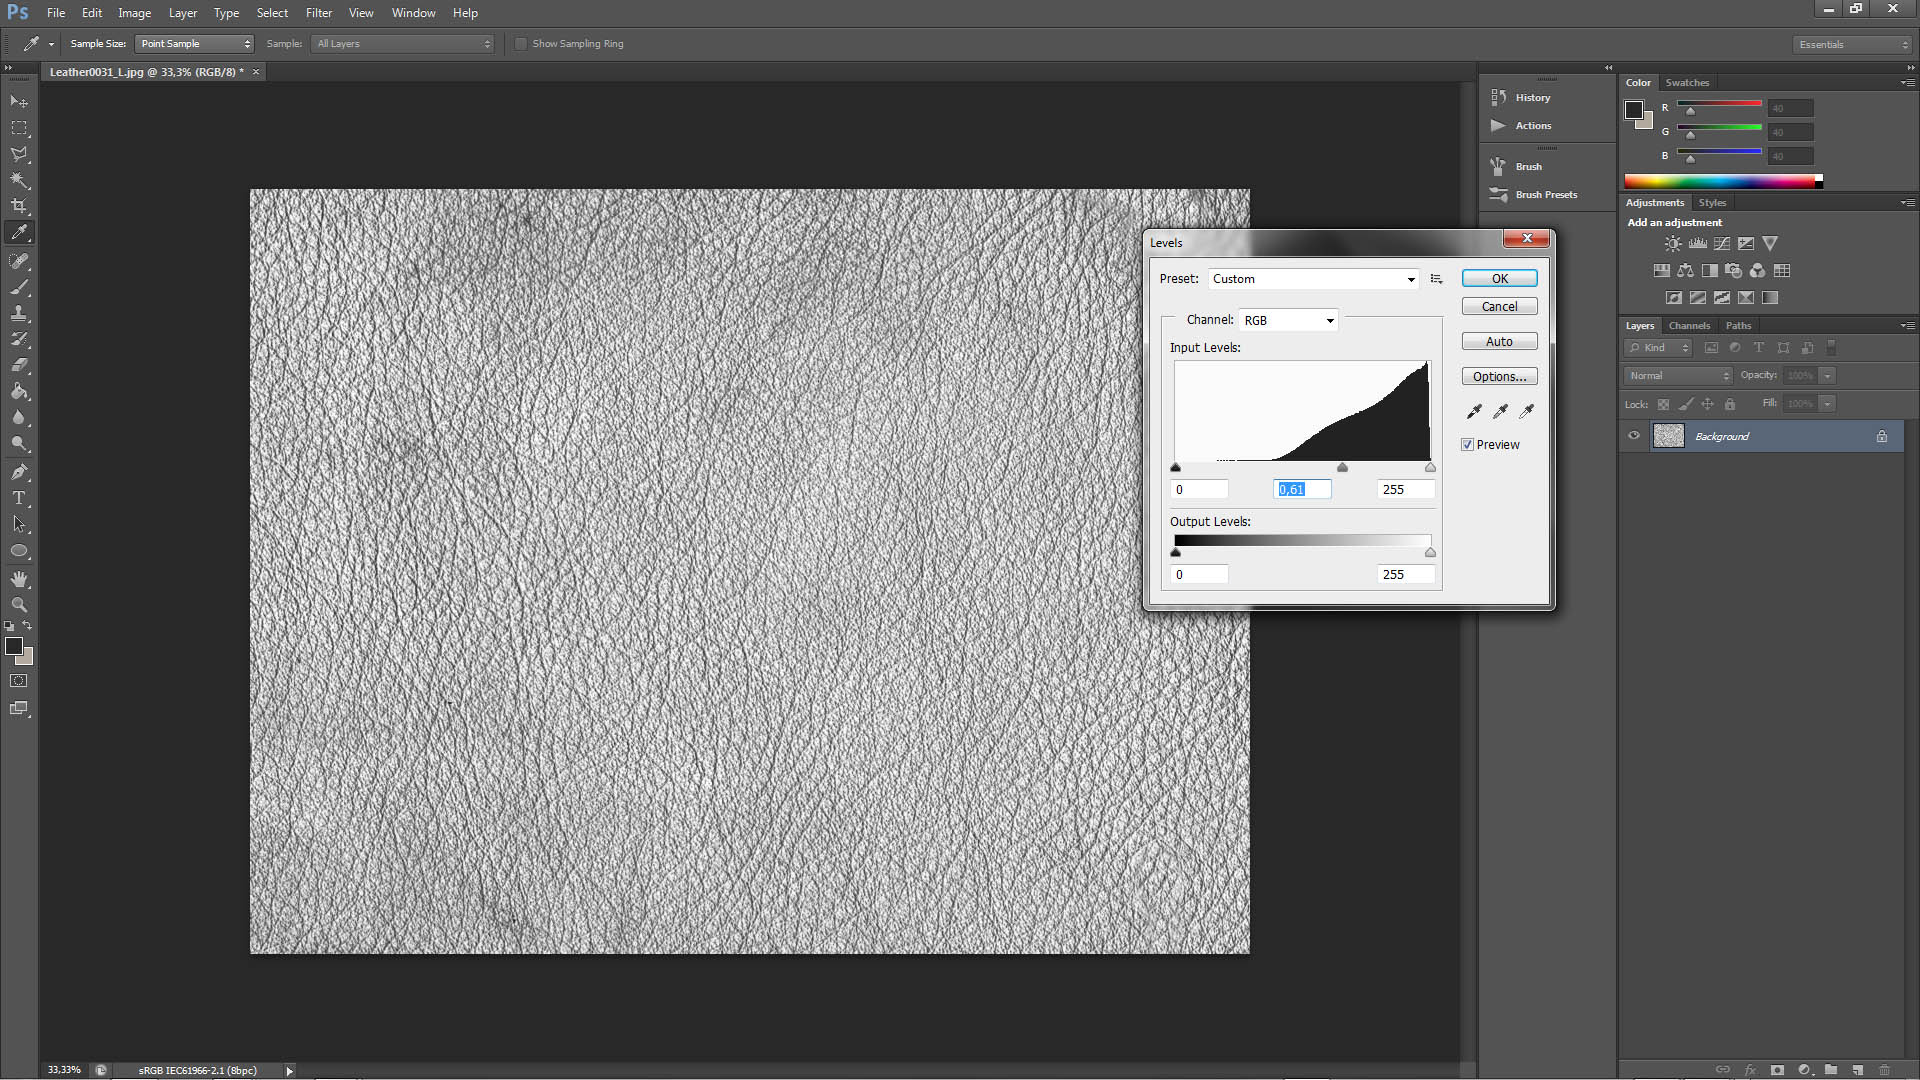
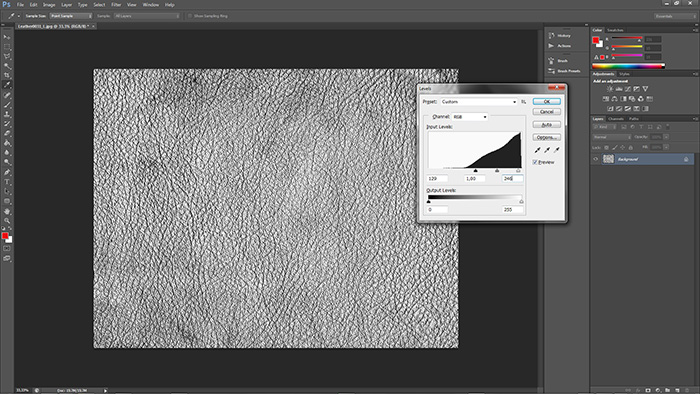
c.)Levels
You have to set the Levels that so the black areas will be really crisp and so are going to see the transitions between black and white points.
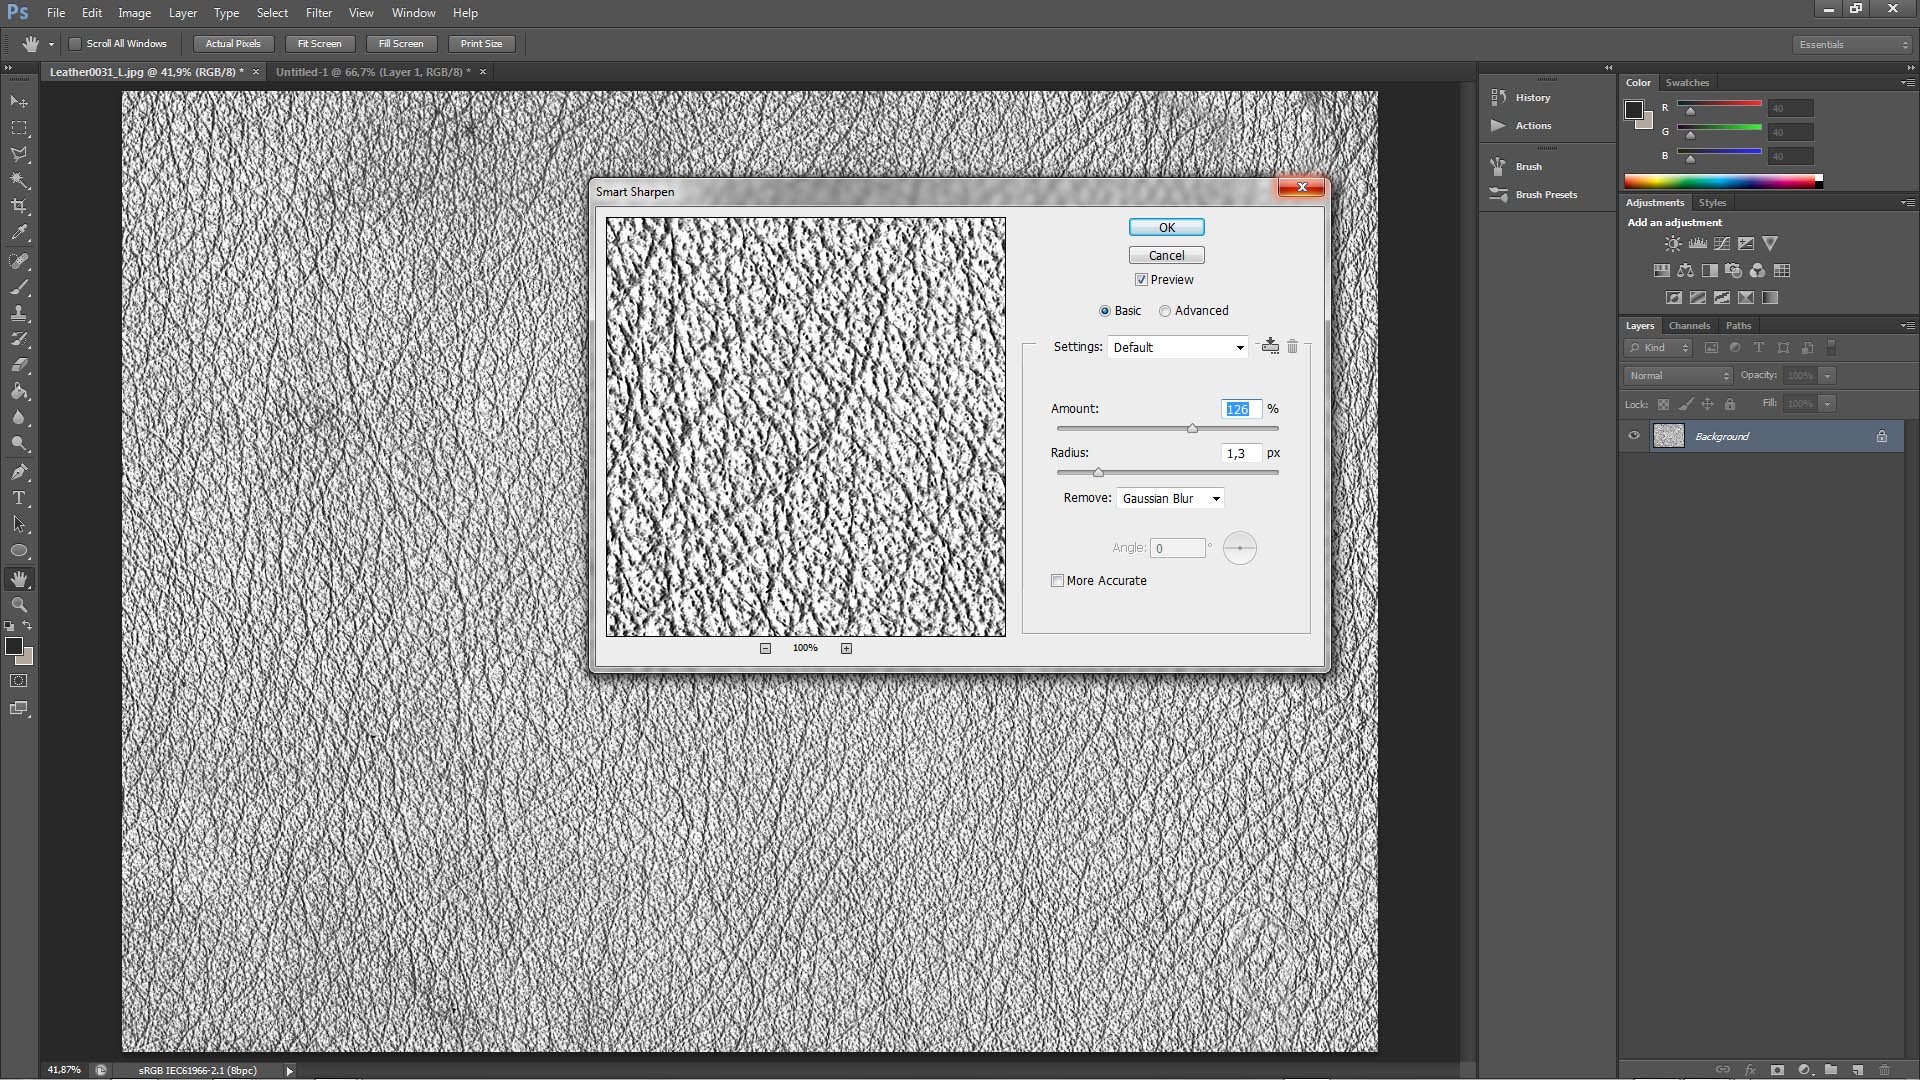
d.) Sharpen
It’s always worth to make our map a little sharper. Just go to Filter-> Sharpen-> Smart Sharpen and play with the sliders. Immediately you have a real-time view in the window how the sharpening is changing. Of course you cannot overdo with this.
And this is how it looks like step by step.

Here is very simple work to do. We will do everything in analogy of the creating the bump map.
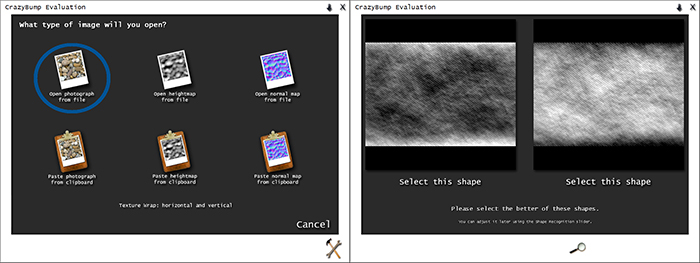
a.) Import a map
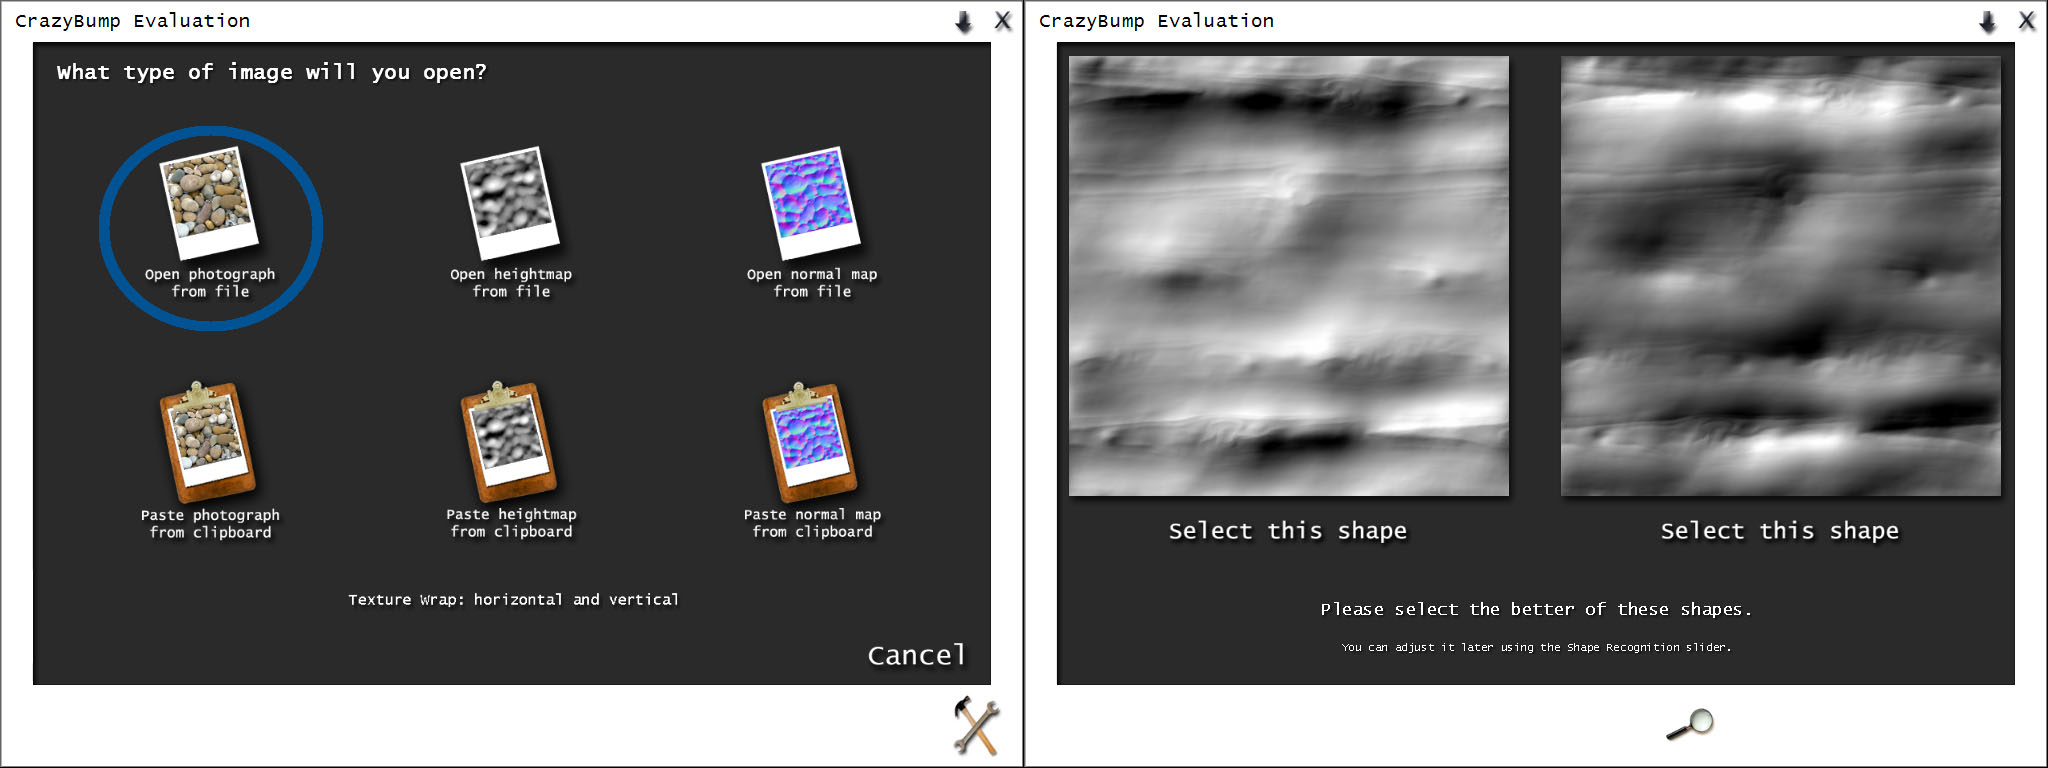
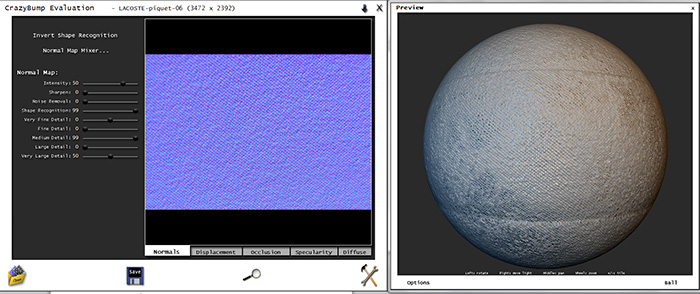
Now, you have to open your map. Select that option which you can see on the left in the picture below. Once have you chosen the map wait until Crazy Bump will stop thinking and then new window will appear like on the right side in the picture. What’s going on? If you remember how the bump map works(you have to know it!), you should immediately guess that the program gives us a choice of what type of map we want. Map on the left has darker places so when you will choose that one , your map will give more concavity effect, and the map on the right is the inverse. In fact it doesn’t make a big difference which type you will choose, because in 3ds max you can set the right value of the map.
b.)Settings
First of all there is a fewer setup sliders than on bump card however that doesn’t change the fact that you can get great effect or screw up everything :D
Description of the parameters for the Specularity map
- Here you can change the influence of texture on the map. Why I would to change it from a zero value? It’s a very good question :P It’s only useful when you have a texture with a lot of pits and bulges, then you can make that the light will reflect only on the most sharp places.
- responsible for the amount of detail to be included on the map.
- higher value makes map will be… all shiny without taking into account the number of pits and bulger of diffuse map. I recommend to stay with the value of 50.
- with increasing contrast, collapse places will be more sharp. Sometimes this can be useful (for example on leather seat material) but usually the better way is just set a value in the range 15-25.
- this can add noise to the map
- this can add metallic color to the map

c.)Saving the file
Let’s choose save(floppy disc) -> save normals as -> and here we have to pick out the same typ of map like in the second method – tiff format. Sometimes map doesn’t want to work (I read that on the internet). The way to avoid this is very simple, just reopen the file in Photoshop or another type of program and simply save it again and it will work correctly :)

For the purpose of creating visualization often you’ll need a bump and specular map. Bump map gives an optical bump effect without changing the shape of the model, for example leather or wood. Specular map causes that the light refracts more naturally for example, take a look how light is refracting on the leather chair, you know what I mean? Generally, you can use almost the same texture as in the bump slot. Creation of that kind of map(I think it is foolish to use the first map without the other one) from selected or created texture it’s really very simple. So now I present you a brief tutorial of creating these two types maps. First part is about bump map, in the second one you can read about process of creating specular maps ; ) Regarding of creating a bump map I will give you three ways , so you can pick out the right one for you, enjoy!
Understanding of how bump maps works
Bump map works that the gray color( R:127, G:127, B127) is an intermediate color, that doesn’t give neither convexity nor concavity . Any lighter shades provide protrusions and the darker one gives concavities. You need to note that not all color textures which will be converted to gray scale(black and white) will give the effect that you want.
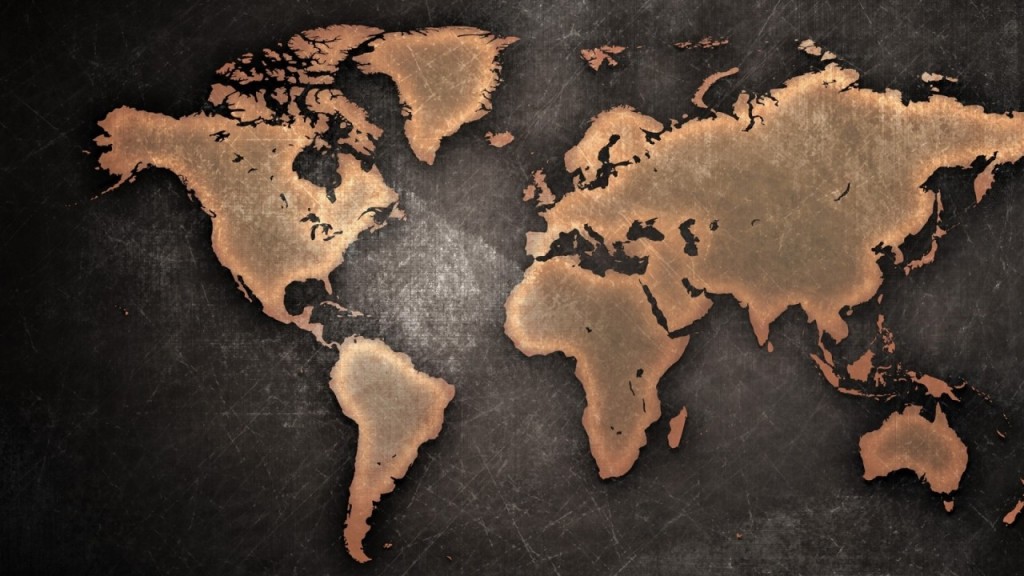
When you need a simple bump map such as leather for chair, it’s enough to play with a few parameters in basic tools in Photoshop. First you need a map – the best you can download from cgtextures.com, but they aren’t free unfortunately, however at the start you get 15mb of transfer, so some textures you can download ; )
a). First step – map desaturation
To do this just select the tool Hue/Saturation(Ctrl+U) and set the value of Saturation to -100.
b). Inversion
It’s obvious that the current bump map is currently contrary to what I wrote in the first paragraph. How can you change this? The key combination Ctrl + i will make color inversion and now you can see that the map is close to what are you expecting.
c).Levels
The only thing left it’s just adjusting the levels of the map. What do I want to achieve is to make stronger the places where the map will be concave(darker places – almost totally black). You can play with the slider and get the most desired effect. Below you can see my settings.
And so in these three simple steps you received a simple map bump ; ) Piece of cake, isn’t it? However, there are cases when those tools will not gave you the effect that you need, so what can you do? You can use an Nvidia plugin. To download it just go to that website and now we can solve that problem.
a).Plugin
After plugin installation(be sure that you choose the correct version 32bit/64bit) open Photoshop and import your texture. Choose that one , which you would not be able to create using the previous three steps. To run the filter you need to go to Filter->Nvidia Tools->Normal Map Filter.

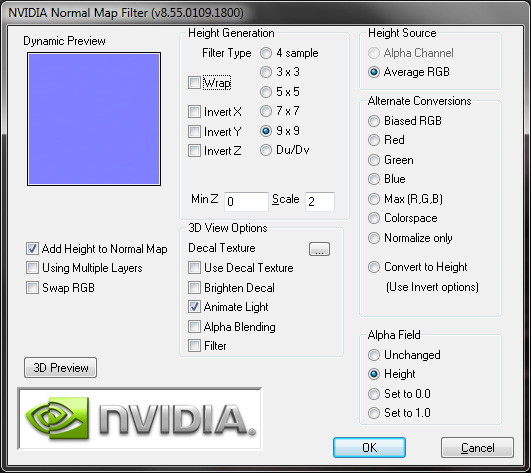
b). Plugin settings
I recommend you to use those settings which you can see on the screen above. More samples equals higher realistic texture because dents and convexities will be more visible. However, the more samples, the longer this process will take. Your map should look something like this on my picture below if you are using the same texture ; ) Hey, but previously you wrote that the bump map should be black and white and now suddenly has to be like this? Yes, you’re right but the NRM (normals)maps ale also supported in 3ds max, of course there is one condition, you have to make very good map ; )
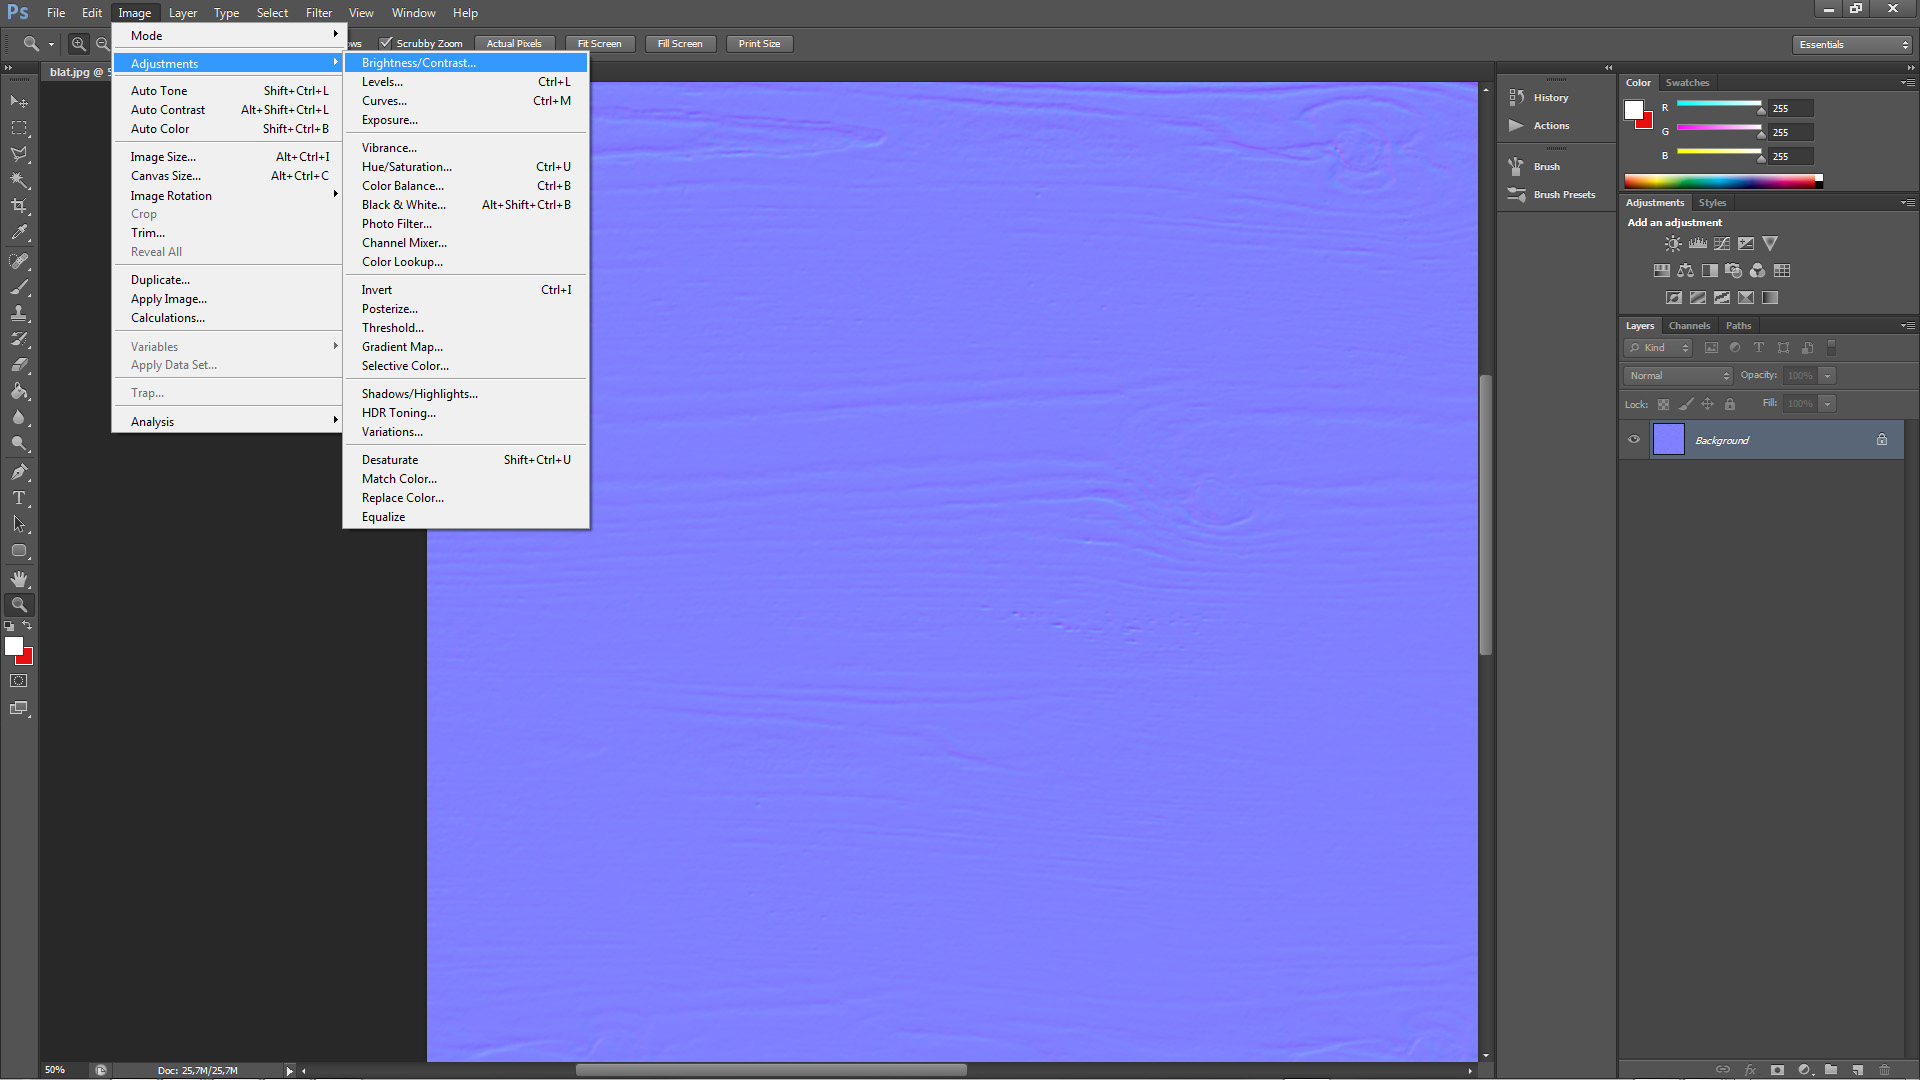
c). Increasing the contrast
Immediately the inequalities are visible. The truth is that the program sees this map like you are seeing it right now. So it would be nice to increase little the indentation. Go to Image-> Adjustments -> Brightness/Contrast and plays with the slider to get the effect that you want by increasing the contrast (I increased it to 70)
d). Saving the file
The main thing is to save the map in to the desired format. Sometimes there are problems with jpg format, so which can you choose? The best choice is Tiff because always work correctly. In case when map won’t work you have to check file mode, it should be set to 8-bit. To check this, go to Image->Mode – > and set 8bits/Channel.

First of all you have to download the program. -> link. Unfortunately, it’s not complete free but you can download demo version, which is a bit truncated however it has enough functions to create a Bump map.
a.) Map import
Now, you have to open your map. Select that option which you can see on the left in the picture below. Once have you chosen the map wait until Crazy Bump will stop thinking and then new window will appear like on the right side in the picture. What’s going on? If you remember how the bump map works(you have to know it!), you should immediately guess that the program gives us a choice of what type of map we want. Map on the left has darker places so when you will choose that one , your map will give more concavity effect, and the map on the right is the inverse. In fact it doesn’t make a big difference which type you will choose, because in 3ds max you can set the right value of the map.
b.) Map settings
Very great feature of this program is the fact that apart from the appearance of the same map bump, the second window shows a map already applied on the object. If you are making changes in a variety number of sliders you have a real time preview of how the map is changing, isn’t that great?:)
It is worth noting that at the start the program itself adjust parameters and it will be rather better left it as it is or eventually you can play with the first two :)
c.) Saving the file
Let’s choose save(floppy disc) -> save normals as ->
and here we have to pick out the same typ of map like in the second method – tiff format. Sometimes map doesn’t want to work( I read that on the internet). The way to avoid this is very simple, just reopen the file in Photoshop or another type of program and simply save it again and it will work correctly :)
First of all, I apologize for any grammatical errors which may be found in this text: P It’s my first translations so please be nice to me ;P I will describe for you with briefly and clearly as to what is in drop-down tab maps. In detail I will only describe those which I use the most, while the rest will be described enough to let you know what they are.
With no doubt, the creation and application of textures it’s a very important element if you want to create a realistic visualization. I must admit that at the beginning my texturing was embarrassing :P I didn’t knew anything about tools in maps rollout, so in my process of “texturing” I was copying the settings from someone who has already had the map set correctly. It’s important to avoid this error, thanks to that you will save a lot of time and nerves.
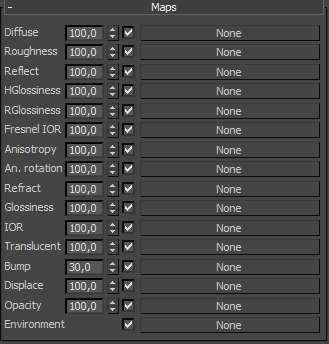
Ok, let’s go with that. You can see right away that the tab Maps is related to the parameters of the material located above. I have to mention that the Vray material has little more slots than the standard map in Mental Ray. Most often I use these slots : diffuse, reflect, bump, displace, opacity. The value next of the map name it’s just a value of the intensity of its action. When you put a texture in to “diffuse” channel and you will set the value on 50 you are able to make that the map will be mixed with the color which you have set above.
As i wrote earlier, in this channel we can add a texture which either completely change the look of the material or will be mixed with the chosen color. Usually i don’t set any other value than 100 because i don’t see the need to mix the colors or maps. When the slot is useful? In the textures of wood, floor, etc. If you don’t have well-prepared texture, don’t use just anything. It’s very important to create a good texture so you have to spend some time creating textures in Photoshop. You can also mix two or even more colors or maps, adding a map called Mix which is shown below on the picture. Don’t forget to set the appropriate percent of the Mix Amount value (default it’s set to 0).

This channel is responsible for the reflections on the material. When we will be not using any map, the reflections will be decomposed as an on flat smooth surface. As you can guess, the texture in this slot is necessary when you have some bitmap in the diffuse channel. Important note, to get the effect that you want, throw only black and white maps in to this slot. Why not colorful? Because of that the reflections are more intense for brighter surfaces and vice versa for darker. Logically when you will put a colorful map, program either will become crazy and will be massive chaos with reflections or there will be no reflections.
I bet, that you will be using this slot very often: P just like me: ) Bump maps are used to simulate the distortion of the material. Keep in mind that this doesn’t work in such a way that, ok now I’m going to throw bricks texture map in to slot and i will have an object that will be convex. None of these things. This works on the basis of the play of lights, when you set correctly the angle of light, inequalities will appear in accordance with the texture map. How to set this up? I won’t answer precisely because you know, you have to try it yourself. Bump map also does not appear, when you set the camera at an acute angle to the surface of the object. The upper limit of intensity of bump maps is 300 units. You have to be desperate to use that value: P I rarely cross the 50th. How to create that kind of map? Soon I am going to share with an entry about creating maps.
If you want to really distort the object, this slot is for you. However, I would not recommend using it too often. Why? For several reasons. The first of these is the fact that you need to create very good texture having regard the edges, otherwise each object wall will impose on each other at those edges. The second reason is when you will use to high value to that kind of maps; the render time will be much longer. Setting it to 100 will extend the render time so much that you can go on a trip :D. So start from a low values 2-3 and gradually increase it but! Only if you really need to have a map in that slot. The third reason is that you can do it much better by using Vray Displacement modifier. What happens is that the first you have to unwrap our object and export the map. Then we have to create texture in PS and finally throw it into to modifier. Definitely it is too complicated for the beginning :P
What happens is that the surface of the object is only visible there where texture have the white color. So, for example, as we have a plane surface and we will give him the material with opacity map suppose the leaf, and then when you will render your scene, the plane surface will be in the shape of that leaf. This is useful mainly when you are going to create different kinds of trees or plants. This can save the massive number of polygons, it’s easy to guess that when you have a large number of plants it is an incredible savings. The hitch is that the opacity works best on flat objects such plane surface, in the more complicated kinds of objects the effect will not be like you expect: P
Now briefly about the other slots, which I do not use at all or very rarely.
Roughness – here you can add a map, which increases the surface roughness of us. As I mentioned in the previous section, I rarely change the value in the Diffuse panel so I almost never throw in here any map.
HGlossiness i RGlossiness – as for me, the settings in Reflect panel are often sufficient to get the proper reflexes. However, if anyone would like to have more control over the reflections , we can try to create the appropriate map in Photoshop.
Fresnel IOR i IOR – honestly I don’t recommend adding anything here, the settings are sufficient. Alternatively, you could use any of the ready-made maps in the program.
Anisotropy – I like the above, it is enough to play with the parameters of the BRDF panel. The sooner you learn to embrace those setting, the better for you, because the texture and additional maps can slow down rendering process.
Translucent - don’t confuse with Transparent slot! This slot is responsible for light clearance through the object. Objectively, I do not know what to fumble here after seeing options in Translucency. But it’s just my opinion ; )
Environment – it’s used to set the texture which that material will bounce back. So i don’t know what is the point to set different Environment map to different material but ok. One environment texture for all of objects in the scene you can set in the render options(F10 key) in V-Ray tab and then in V-ray: Environment.